How to Clean Melted Plastic from Oven: Seven Easy Steps [DIY]
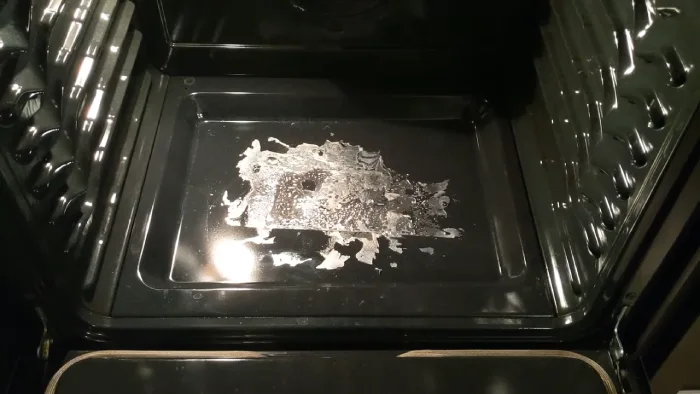
Despite our best efforts to prevent it, accidents sometimes happen in the kitchen. One of the most frustrating mishaps is when plastic melts onto your oven’s surface. Regardless of how it happened, removing melted plastic from an oven can be a daunting task.
Cleaning up melted plastic requires patience and careful attention to detail. It’s important to act quickly before the residue hardens and becomes more difficult to remove.
Depending on your oven and the severity of the damage, you’ll need to take several steps to remedy the problem, from removing large chunks of melted plastic to softening the remaining plastic to applying commercial oven cleaner.
Our goal today is to show you how to clean melted plastic off of your oven so you can restore it to its original condition.
How to Clean Melted Plastic From Oven: Step-by-Step Guide
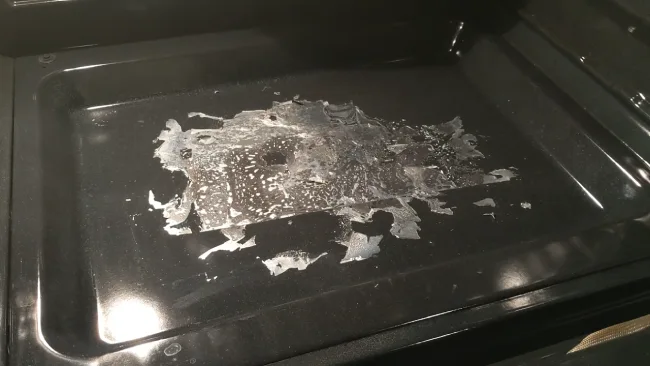
Before cleaning melted plastic from an oven, it is important to prioritize safety precautions. This will ensure no harm is inflicted on oneself or any bystanders during the cleaning process.
- Turn off the oven and unplug it from its power source. This will prevent further plastic melting and reduce the risk of electrical shock.
- When dealing with melted plastic in an oven, open all windows and doors. Adequate ventilation will help dissipate any harmful fumes emitted by burning plastic.
After taking all the necessary safety precautions, it’s time to gather the tools and materials needed for cleaning melted plastic from your oven.
- Before starting the process, ensure you have gloves made of heat-resistant material to protect your hands. Also, get a scraper or spatula that is safe for non-stick surfaces.
- Then, grab some baking soda and white vinegar, as they are excellent natural cleaners that can help remove melted plastic from your oven without causing any damage.
- You will also need a soft cloth or sponge to wipe away any residue left by the plastic. Avoid using abrasive scrubbers or steel wool, which can scratch your oven’s surface.
Cleaning melted plastic from your oven can be a daunting task. Here are easy-to-follow instructions and expert tips for removing stubborn plastic from your oven.
STEP 1. Preparing Your Oven For Cleaning
To prepare your oven for cleaning, remove racks or other removable parts. These can be soaked in warm soapy water while working on the oven’s interior.
Next, use a soft-bristled brush or sponge to scrape away any loose debris or melted plastic gently. For tougher spots, consider using an oven cleaner specifically designed for this purpose.
STEP 2. Removing Large Chunks Of Melted Plastic
After preparing your oven for cleaning, it’s time to tackle the melted plastic that has adhered to its surface. Before starting the cleaning process, ensure the oven is completely cool and unplugged from any electrical source. This will prevent any injury or damage to both you and the appliance.
Removing large chunks of melted plastic requires some effort but can be done with simple tools. Start by carefully scraping off as much hardened plastic as possible using a plastic scraper or spatula.
Be gentle to avoid scratching or damaging the interior of your oven. If there are still rough areas left after scraping, gently sand them down using fine-grit sandpaper until they are smooth.
STEP 3. Softening the Remaining Plastic
After removing as much large melted plastic as possible from the oven, small remnants may still be stuck to the surface. These bits can be difficult to remove and require a different approach than scraping or chipping away at them.
One option for softening the plastic is by using heat. Turn your oven on low heat (around 200°F) and let it warm up. Then, use a hairdryer or heat gun to blow hot air directly onto the remaining plastic until it softens. Once it becomes pliable, use a damp cloth to wipe away the softened plastic.
STEP 4. Scraping Off the Softened Plastic
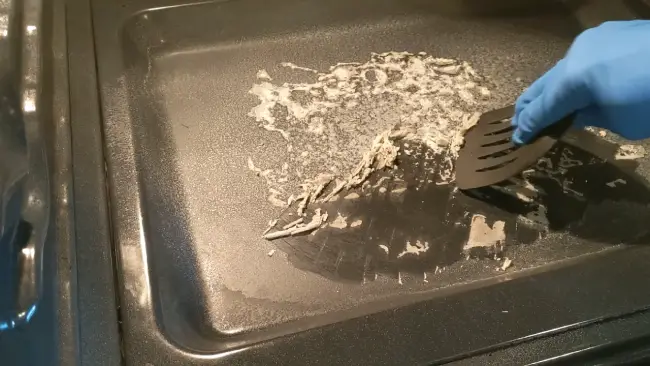
After softening the remaining plastic in your oven, the next step is to scrape off as much as possible. This process requires patience, but with some effort, you can remove all traces of melted plastic from your oven.
To scrape off the softened plastic, use a spatula or scraper tool that won’t scratch your oven’s surface. Be careful not to press too hard on the surface while scraping as this could cause damage to the interior walls of your oven. Work slowly and methodically to remove as much of the plastic as possible.
STEP 5. Clean the Oven Interior
After scraping off all the melted plastic, clean the oven interior carefully. Depending on the circumstances, there are different methods available. These include:
#1 Using Baking Soda and Vinegar
One popular method for cleaning melted plastic from an oven is baking soda and vinegar. This natural solution can effectively remove stubborn residue without leaving any harsh chemicals behind.
To start, mix a baking soda and water paste until it forms a thick consistency. Apply this mixture to the affected area and leave it on for 15 minutes. The baking soda will help loosen up the plastic and absorb any odors.
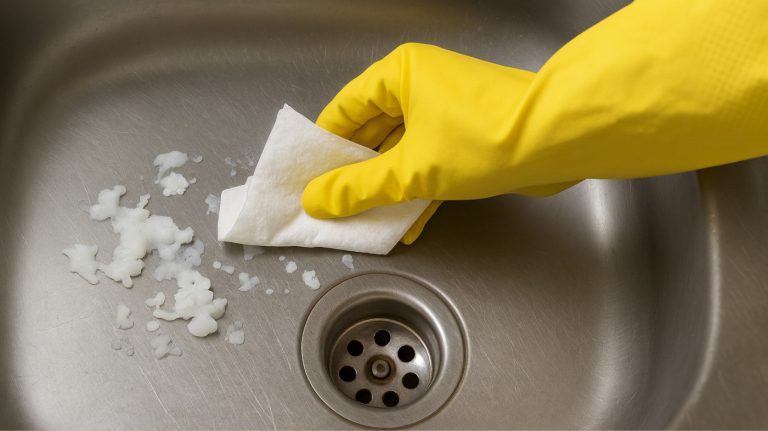
Next, use white vinegar to dampen a clean cloth or sponge. Scrub the area with gentle pressure until all the plastic has been removed. Rinse with warm water and dry thoroughly before using your oven again.
#2 Applying Commercial Oven Cleaner
Commercial cleaners are designed to dissolve tough stains and debris, including melted plastic. Before applying the cleaner, it’s important to ensure the oven is cool and turned off.
To apply the commercial oven cleaner, follow the instructions on the label carefully. Most products require you to spray or brush the cleaner onto the affected area and let it sit for a while before wiping it away with a damp cloth or sponge. Be sure to wear gloves and protective eyewear when working with these products.
STEP 6. Cleaning the Oven Racks
After applying natural or commercial oven cleaner to the inside of your oven, you may still need to tackle any remaining melted plastic residue. Cleaning oven racks can be a daunting and messy task, especially when they have been left to accumulate a thick layer of grime and burnt-on food debris.
When cleaning oven racks, simply remove them from the oven and spray them evenly with the oven cleaner solution, ensuring complete coverage. Leave it on for the recommended time, then rinse thoroughly with water and pat dry with a clean cloth.
Your oven racks will once again gleam like new, and you’ll enjoy your oven’s delicious meals without any nasty burnt-on residue.
STEP 7. Wiping Down the Oven Interior
Wiping down the interior is one of the most effective ways to remove any remaining residue. To begin wiping down the interior, allow the oven to cool completely before starting. Once cooled, use a damp cloth or sponge and wipe down the entire inside surface of the oven.
Mix baking soda and water into a paste for tougher stains and apply it directly onto stubborn spots. Allow this solution to sit for 10-15 minutes before scrubbing away using circular motions. When cleaning an oven, you should avoid harsh chemicals because they can release toxic fumes when heated.
Note: Be patient during this process, as rushing may cause more harm than good. After removing all traces of melted plastic, rinse with clean water thoroughly and dry with a towel before using your oven again.
Pros & Cons of Cleaning Melted Plastic from Oven Manually
| Pros | Cons |
| Natural ingredients | May require more effort than chemical cleaners |
| Safe for pets and children | Could take a longer time for deeper cleaning |
| No strong odors | Not suitable for extremely tough stains |
How to prevent future oven accidents?
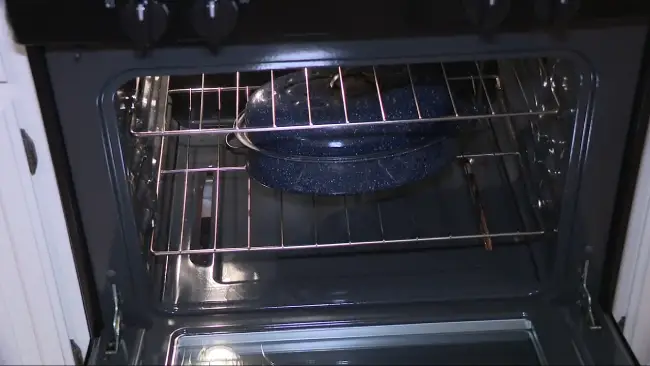
Did you know that improper storage of ovens can lead to dangerous accidents? From burnt hands to smoky kitchens, oven mishaps can easily be prevented by taking the right precautions.
A crucial aspect of preventing future accidents in the kitchen is proper storage. To avoid cluttering your workspace, store all food and cooking materials where they belong. Clutter can confuse you, leading you to grab the wrong ingredient or tool that could potentially lead to an accident.
Moreover, it’s important to keep your kitchen organized by storing heavier items on lower shelves and lighter ones above. This ensures that heavy objects aren’t at risk of falling onto someone or causing damage when reaching for them.
Can vinegar remove melted plastic from the oven?
When dealing with lighter amounts of melted plastic in the oven, baking soda and vinegar can be an effective solution. Begin by unplugging the oven and allowing it to cool completely. Then, mix equal parts vinegar and baking soda to create a paste.
Apply the paste to the melted plastic and let it sit for at least 15 minutes. Scrub the area with a non-abrasive scrubber, such as a sponge or soft-bristled brush, until the plastic comes off. Rinse the area with water and dry it thoroughly.
It’s important to note that this method may not work for heavy-duty plastic buildup or when plastic has melted onto the oven’s heating elements. In those cases, professional cleaning or replacement of the parts may be necessary.
How do you get dried melted plastic out of the oven?
Removing dried, melted plastic from an oven requires more effort and care. Make sure the oven is unplugged and cooled completely before continuing. Once cooled, remove the racks from the oven and place them in the freezer. Allow them to sit for a few hours until the plastic has hardened.
Once the plastic has hardened, use a razor blade or scraping tool to remove as much of the melted plastic as possible. Avoid harsh chemicals or scrapers that could damage the oven’s surface or heating elements.
You can use a mixture of baking soda and vinegar or a specialized oven cleaner for stubborn spots. Follow the instructions carefully and rinse the area thoroughly before using the oven again.
How toxic are melted oven plastic fumes?
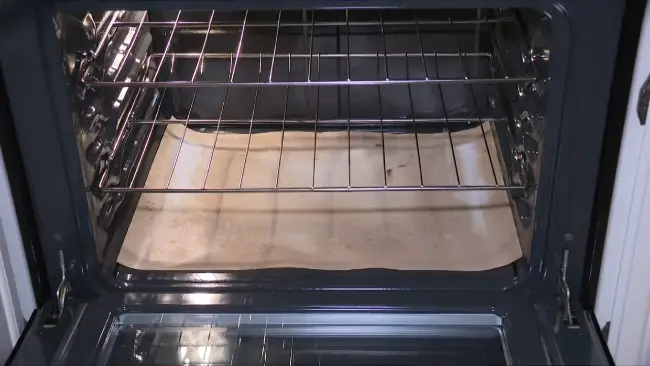
The fumes emitted from melted plastic in an oven can be dangerous and toxic. Inhaling these fumes can cause several respiratory problems, including coughing, wheezing, and shortness of breath. In severe cases, it can be life-threatening.
Melted plastic fumes contain several harmful chemicals, including carbon monoxide, styrene, and acrolein. Exposure to these chemicals can cause damage to the lungs, respiratory tract, and other organs in the body.
If you suspect you have inhaled melted plastic fumes, seek medical attention immediately. Open windows or doors to provide ventilation and avoid using the oven until thoroughly cleaned.
It’s important to take proper precautions and use protective gear, such as gloves and a mask when cleaning melted plastic from an oven to avoid exposure to harmful fumes.
Revive Your Oven in No Time – Cleaning Large Melted Plastic Done Easier
Cleaning melted plastic from your oven can be daunting, but restoring your oven to its former glory is possible with the right tools and techniques. But before starting the cleaning process, taking safety precautions such as wearing gloves and ensuring proper ventilation is crucial.
To effectively clean melted plastic from your oven, you must first remove large chunks of plastic. By softening any remaining residue with heat, you’ll be able to get rid of stubborn stains. Also, taking preventative measures like using non-stick liners or avoiding putting plastics in hot ovens can save you future headaches.
Following these guidelines provides a hassle-free way of removing melted plastic from your oven without damaging it. Regular maintenance routines keep your kitchen appliances functioning efficiently for longer periods while protecting them from damage caused by neglecting cleanliness.

