
Best Way to Remove Vinyl Decals: Without Damaging Paint
To remove vinyl decals effectively, first clean and dry the surface thoroughly to prevent damage.
Soften the adhesive using a hair dryer or heat gun on low, moving steadily about 8 inches away.
Gently lift edges with a plastic blade or credit card, peeling at a 120-degree angle while reheating if needed.
Remove sticky residue with rubbing alcohol or Goo Gone, then polish to restore smoothness.
If you want to master tougher decals and residue, there are precise methods to explore next.
Key Takeaways
- Soften decal adhesive using controlled heat with a hair dryer or heat gun, keeping the heat source moving to avoid surface damage.
- Gently lift decal edges with a plastic squeegee or credit card, pulling vinyl slowly at a 120-degree angle to prevent tearing or scratches.
- Score large decals into strips and reheat sections to ease removal in manageable pieces.
- Remove adhesive residue with rubbing alcohol, Goo Gone, or WD-40, followed by wiping with warm, soapy water and polishing the surface.
- Avoid harsh chemicals and always test removers on a small hidden area to protect paint and finishes.
Prepare Surfaces and Stay Safe Before Removing Vinyl Decals

Before you begin removing vinyl decals, make sure the surface is clean and dry to prevent slips and scratches.
Sweep and mop floors thoroughly.
For vehicles or walls, wash with mild dish soap and water to eliminate dust and grime that could cause abrasion.
Test any adhesive remover on a small, inconspicuous area to avoid paint damage.
Avoid fragrant or bleach-containing soaps, opting for gentle dish soap instead.
Make certain the workspace has proper ventilation if using chemical removers.
Keep heat tools at a safe distance to prevent burns or paint damage.
Never hold your hand directly in hot air streams.
After removal, wipe the area with a damp cloth, dry it fully, and apply car wax or a protective sealant to preserve the surface’s finish.
Always dry surfaces immediately with a clean cloth to prevent moisture damage and maintain finish integrity, as recommended in best cleaning practices.
Soften Vinyl Decals With Heat for Easier Removal
By applying controlled heat to the vinyl decal, you’ll soften the adhesive underneath, making removal smoother and reducing the risk of tearing or surface damage.
Use a hair dryer on low or medium heat, holding it about 8 inches away, moving steadily over the decal. If available, a heat gun on low setting works well for small sections, but avoid overheating.
Use a hair dryer or low heat gun, keeping steady movement to soften decals without overheating.
For large areas or flooring, higher heat is tolerable, while steamers or irons held 1–2 inches away for around 5 minutes melt glue effectively.
Pre-warming surfaces in direct sunlight also helps loosen adhesive bonds.
- Maintain consistent heat movement to prevent warping or paint damage.
- Work in small sections for controlled softening.
- Avoid prolonged heat exposure on delicate surfaces.
- Monitor decal temperature by touch to gauge readiness.
For best results and to protect the surface, always work in a well-ventilated area and wear gloves when handling heated decals.
Tools and Tips for Lifting and Peeling Vinyl Decals
Lift the edge of the vinyl decal carefully using a plastic squeegee, credit card, or plastic razor blade to avoid damaging the surface underneath.
Insert the tool at a low angle, applying consistent, gentle pressure to slide beneath the decal corner. After warming the adhesive, use your fingernails or tweezers to peel back the lifted edge.
Pull the vinyl at roughly a 120-degree angle to maintain sheet integrity, moving slowly with steady force. Work from the edges toward the center, employing a side-to-side motion rather than straight upward to reduce tearing and residue.
For large decals, score them into manageable strips with a liner-cutting tool. Reheat sections as needed during peeling to keep the adhesive pliable and minimize surface damage.
Always use gentle, non-abrasive tools and techniques to prevent surface scratches during decal removal.
Removing Vinyl Decal Residue and Sticky Adhesive
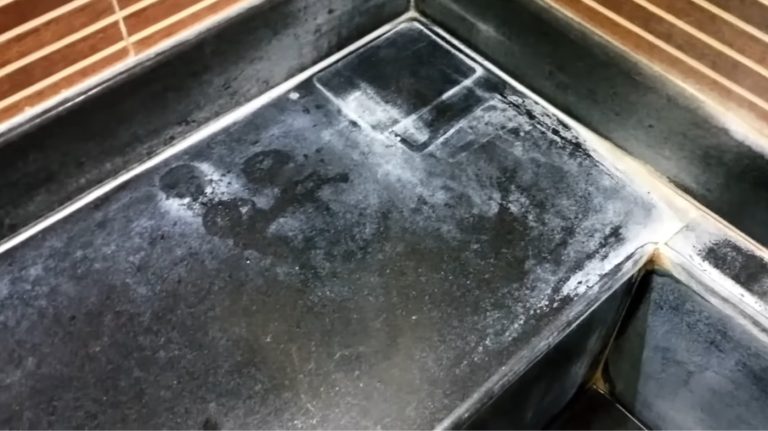
Once you’ve successfully peeled away the vinyl decal, you’ll often find sticky adhesive residue clinging stubbornly to the surface.
Removing this residue requires targeted methods to avoid damage and restore cleanliness.
Start by applying an adhesive remover like rubbing alcohol or Goo Gone directly on the residue, letting it sit briefly to soften the glue.
Next, wipe the area with a soft cloth dampened in soapy water.
For stubborn spots, use a WD-40 soaked rag to loosen the adhesive, then gently scrub with a non-abrasive pad.
Finally, polish the surface with t-cut or similar products to eliminate any ghost marks.
- Apply adhesive remover; wait 1-2 minutes.
- Wipe residue with warm, soapy cloth.
- Use WD-40 for persistent sticky patches.
- Finish by polishing for a clean, smooth surface.
When working on delicate surfaces, avoid harsh chemicals like Clorox wipes as they can cause surface degradation and damage finishes.
Fixing Broken Decals and Tough Adhesive Problems
When a vinyl decal breaks into pieces during removal, you’ll need to carefully scrape off each fragment using a quality razor blade.
Apply consistent pressure with a steady back-and-forth motion to avoid surface damage.
If heat tools aren’t available, press a hot, damp towel onto the decal for several minutes to soften the adhesive.
For tough adhesives, soak a cloth in baby or olive oil, place it over the residue, and let it sit for 20 minutes to dissolve the glue.
Lightly apply lighter fluid on a paper towel to loosen stubborn adhesive, then clean with Windex.
For dry wall decals, allow oil to penetrate the membrane before gentle removal.
These techniques reduce surface stress and safeguard thorough, controlled decal and residue removal.
Using tools with ergonomic handles and scrapers can enhance precision and reduce strain during the removal process.
Frequently Asked Questions
Can Vinyl Decal Removal Damage Tinted Vehicle Windows?
Yes, vinyl decal removal can damage tinted vehicle windows if you’re not careful.
Applying excessive heat or harsh scraping tools can cause the tint film to bubble, peel, or crack.
You should use low heat settings and gentle plastic tools to lift edges, avoiding metal blades.
Always test a small area first, and avoid prolonged heat exposure.
Slow, steady peeling combined with adhesive removers minimizes risks to your tinted glass.
How Long Should Decals Cure Before Attempting Removal?
Think of your decal as a freshly painted canvas that needs time to settle before you touch it. You should let decals cure for at least 24 to 48 hours before removal.
This curing period allows the adhesive to bond firmly but not too rigidly, making your peeling smoother. Removing too soon risks tearing or leaving residue.
Waiting guarantees the vinyl softens properly with heat, letting you lift edges cleanly without damage.
Are There Eco-Friendly Adhesive Removers Safe for All Surfaces?
You can use eco-friendly adhesive removers like citrus-based gels or soy-based solvents that work safely on most surfaces.
These natural options soften adhesive without harsh chemicals, reducing environmental impact and protecting paint or plastics.
Always test a small area first to avoid damage.
Apply the remover, let it sit briefly, then wipe with a damp cloth.
This method efficiently dissolves residue while keeping your surfaces intact and eco-conscious.
What Is the Best Way to Store Vinyl Decals for Reuse?
Picture your vinyl decal lying flat, smooth as glass, untouched by dust or wrinkles. To store it for reuse, place it adhesive-side up on a clean, non-stick surface like parchment paper or a silicone mat.
Cover gently with a sheet of wax paper, then slide everything into a rigid, flat container to prevent bending. Keep it in a cool, dry spot away from direct sunlight to maintain its tack and shape perfectly for next time.
Can Vinyl Decals Be Removed From Fabric Without Damage?
You can remove vinyl decals from fabric without damage by gently heating the decal with a hair dryer for about a minute to soften the adhesive.
Then, slowly peel the decal back at a 120-degree angle, applying steady, even pressure.
If residue remains, dab rubbing alcohol on a cloth, blot the area, and wash the fabric afterward.
Always test heat and solvents on a hidden spot to avoid discoloration or damage.
Remove Vinyl Decals the Right Way Every Time
When removing vinyl decals, preparation and the right tools make all the difference.
Imagine you’re tackling a stubborn decal on your laptop: by softening it with a heat gun, you loosen the adhesive.
Then carefully peel with a plastic scraper to avoid damage. Finish by wiping away residue with rubbing alcohol.
Following these steps guarantees a clean, scratch-free surface every time, saving you hours and preserving your items’ appearance.