Best Way to Clean White Vans for a Bright, Fresh Look
To clean your white Vans effectively, first remove the laces and insoles gently to access all areas. Brush off loose dirt, then scrub canvas uppers with warm water, mild dish soap, and a soft toothbrush in circular motions.
Clean rubber soles with a magic eraser and wipe dry. Air-dry in shade without direct heat to avoid yellowing.
Use a baking soda and water paste for stubborn stains, applying it evenly before rinsing.
Keep going for tips to protect and maintain their crisp look longer.
Key Takeaways
- Remove laces and insoles gently, then soak laces in warm soapy water to clean thoroughly before washing the shoes.
- Brush off loose dirt with a soft dry brush to prevent grime embedding before applying any cleaning solution.
- Clean canvas uppers using a mild dish soap and warm water mixture, scrubbing gently in circular motions with a soft brush.
- Treat stubborn stains or yellowing with a baking soda and hydrogen peroxide paste; let sit 15–30 minutes before rinsing.
- Use a damp magic eraser sparingly on rubber soles and scuffs to lift marks without damaging the shoe material.
Preparing Your White Vans for Cleaning
Start by removing the laces and insoles from your white Vans to make sure you can clean every corner thoroughly without causing damage.
Begin by taking out the laces and insoles to clean every nook without harm.
Gently lift insoles from the heel area; if they’re glued, leave them in place to avoid tearing. Soak the laces in warm, soapy water for 15–30 minutes, then rinse and air dry.
Wipe insoles with a damp cloth and mild soap. It is important to brush in small circles to effectively lift dirt during cleaning.
Next, brush off any loose dirt with a dry brush or cloth, especially after outdoor use, to prevent pushing grime deeper into the fabric.
Ensuring proper ventilation during cleaning can help reduce exposure to any cleaning fumes.
This initial step guarantees dirt won’t embed during cleaning.
Finally, rinse your shoes with warm water to loosen grime. Set aside a small bucket of warm, soapy water and prepare your workspace for a smooth, efficient cleaning process.
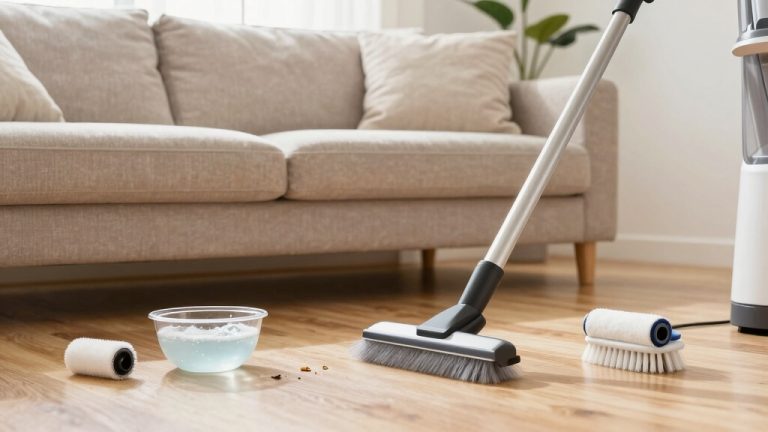
Essential Tools and Supplies Needed
To clean your white Vans effectively, you’ll want to gather a few essential tools.
First off, having both soft and stiff brushes is key. These will help you tackle different materials without causing damage and prevent vinyl deterioration.
And don’t forget a magic eraser—it’s perfect for getting rid of those pesky scuffs.
You should also stock up on some gentle cleaning agents.
Mild dish soap works wonders, and oxygen-based cleaners are great for tackling stains while keeping your fabric or leather safe.
It’s important to use mild detergent with warm water to avoid damaging the shoe’s glue or structure.
Oh, and let’s not overlook the handy essentials!
Microfiber towels are a must for drying and polishing.
Shoe trees can help maintain their shape, and a good protective spray will guard against future stains.
Cleaning Tools Checklist
Gathering the right tools sets you up for a thorough and efficient cleaning of your white Vans. You’ll want a well-lit, flat workspace protected by an old towel or mat to catch runoff. Keep a trash bin nearby for debris and wipes.
Regular maintenance and proper preparation can significantly extend the life of your shoes and keep them looking fresh.
Use shoe trees or crumpled paper to maintain shape while cleaning and drying. For machine washing canvas Vans, placing them in a mesh bag and adding old white towels helps balance the load and protects the shoes during the cycle delicate cycle.
Always test cleaning solutions on a hidden area first to avoid discoloration or damage.
Here’s a checklist to get started:
- Soft brush and stiffer sole brush for removing dirt and grime without damaging materials.
- Lint-free microfiber cloths for wiping and buffing to avoid streaks.
- Small bowls or containers to separate cleaning solutions and prevent cross-contamination.
- Protective gloves to shield your skin from harsh cleaning agents.
This setup guarantees you clean efficiently and protect your shoes and workspace. Using mild detergents diluted appropriately helps remove stains effectively without harming the fabric.
Recommended Cleaning Supplies
Selecting the right cleaning supplies guarantees you tackle every part of your white Vans effectively without causing damage.
Start with a mild dish soap like Dawn for general canvas cleaning, and pair it with oxygen-based whiteners such as OxiClean for brightening and stain removal.
Use shoe-specific gel cleaners with brush applicators for rubber bumpers and fabric. These gel formulas are designed to brighten and clean white rubber bumpers effectively.
Many non-toxic detergents utilize enzyme technology to remove tough stains gently.
Spot treat stubborn stains with enzymatic pre-treaters or a baking soda and mild detergent paste.
For rubber soles, a magic eraser works wonders.
If your Vans have leather or suede panels, choose appropriate cleaners and conditioners for those materials.
Always have clean microfiber cloths for wiping and drying.
Finish by applying a gentle water-and-stain repellent spray after drying to protect your shoes and keep them looking fresh longer.
Removing Laces and Insoles Properly

Let’s talk about how to remove laces and insoles from your Vans properly.
First things first, when you’re unlacing them, just take your time. Give those laces a steady, even pull. This way, you won’t twist or damage them, which is super important.
To keep your laces looking fresh and reduce wear and tear, it’s a good idea to swap up lace patterns periodically. Regularly cleaning your laces can also help maintain their appearance and longevity.
Now, onto the insoles! When you’re ready to take those out, gently lift them from the edges. If you need a little extra help, don’t hesitate to grab a flat tool to peel them away carefully.
Just be cautious to avoid tearing. Removing insoles carefully prevents material damage that can shorten the lifespan of your shoes.
Laces Cleaning Tips
Before you clean your white Vans’ laces, always remove them carefully by loosening the knots and pulling them through the eyelets to avoid damage.
Once removed, tap your shoes together to dislodge loose dirt.
Identify the lace material—fabric, synthetic, or leather—to choose the appropriate cleaning method, as different materials require targeted cleaning solutions.
Follow these steps to clean your laces effectively:
- Soak fabric laces in warm, soapy water for 15-30 minutes using mild detergent.
- Gently scrub with an old toothbrush, focusing on stained areas.
- For whitening, apply a paste of baking soda and vinegar or hydrogen peroxide and let sit 15-30 minutes.
- Rinse thoroughly, gently wring out excess water, and air-dry away from direct heat.
For faster stain removal and deep cleaning of fabric or mesh laces, consider using SneakERASERS SOAK.
This method preserves your laces’ integrity while restoring their brightness.
Insoles Removal Guide
After you’ve carefully cleaned and removed your Vans’ laces, it’s time to address the insoles, which often require special attention during maintenance.
First, check whether your insoles are removable or glued. Most Vans have removable ones, but some styles, especially slip-ons, may need tools or heat to loosen glue at the heel.
A visual inspection can help identify if the insole is glued or removable by checking the edges for signs of adhesion or stitching.
Slide your fingers under the edges, wiggle gently, or apply heat with a hairdryer to soften glue. Use a plastic shoehorn or butter knife carefully if needed.
Avoid using excessive moisture during this process to prevent damage from excess water.
| Step | Tip |
|---|---|
| Inspection | Identify glue spots, mainly heel area |
| Manual loosening | Wiggle edges, fold shoe gently |
| Tool-assisted removal | Use plastic shoehorn or butter knife |
| Heat application | Heat heel for few minutes |
| Post-removal care | Clean interior, air-dry insoles |
Quick Cleaning Techniques for White Vans
Frequently, quick cleaning techniques can breathe new life into your white Vans without demanding too much time or effort.
Start by removing loose dirt from soles with a dry soft-bristled brush. It is important to brush off dry dirt before using any wet cleaning method to avoid pushing dirt deeper into the fabric. Using a brush with stiff nylon bristles can help effectively dislodge stubborn particles.
Begin by brushing away loose dirt from the soles using a dry, soft-bristled brush.
Then, mix 2-3 drops of dish soap in warm water and gently scrub the canvas with an old toothbrush in circular motions.
Wipe off soap residue with a damp cloth.
For scuffs on rubber soles, dampen a magic eraser slightly and rub the marks away.
Finally, remove laces and insoles before cleaning; soak laces in warm soapy water for 15-30 minutes, then rinse and air-dry.
These steps keep your Vans looking fresh quickly and effectively.
How to Use Baking Soda Paste for Deep Cleaning?
While quick cleaning methods can freshen your white Vans effectively, tackling stubborn grime and deep stains often requires a more intensive approach.
Start by mixing baking soda with water to create a toothpaste-thick paste. For tougher grime, add mild detergent. Always test on a hidden spot first and work in the shade.
Since Vans are typically canvas shoes, using a cleaning solution appropriate for canvas material will yield the best results.
Apply with a soft brush, letting it dwell 5–30 minutes depending on stain severity. Then gently scrub in circular motions. Rinse thoroughly with low-pressure water and wipe with a microfiber cloth to avoid residue.
| Step | Tip |
|---|---|
| Mix paste | 1:1 baking soda to water ratio |
| Application | Apply evenly; avoid thick clumps |
| Rinse & Finish | Use low-pressure water, then dry |
Whitening Solutions for Stubborn Stains
Tackle stubborn stains on your white Vans by choosing whitening solutions tailored to the material and stain type. Here’s how to approach it effectively:
- Use oxygen-based cleaners for canvas or mesh uppers, as they brighten without chlorine bleach damage. Many natural cleaners incorporate active oxygen molecules that safely and effectively lift stains while preserving fabric integrity.
- Apply a peroxide paste (hydrogen peroxide, baking soda, mild detergent) on yellowed spots; leave 15–30 minutes before rinsing.
- For mildew or odor, soak laces or fabric inserts in diluted white vinegar; rinse thoroughly to protect adhesives. Remember to avoid prolonged soaking to prevent glue loosening and shape warping.
- Combine soft nylon brushes with your whitening solution to gently lift deep stains, avoiding stiff brushes that harm fibers.
Test any product on a hidden area first to confirm material safety and always follow manufacturer guidelines.
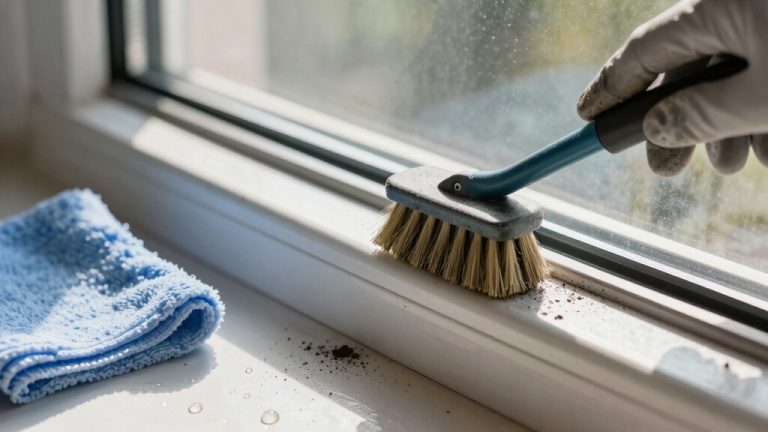
Cleaning the Soles and Removing Scuffs
To keep your white Vans looking fresh, you’ll want to start by giving those soles a good scrub. Grab a stiff brush and some soapy water—this combo works wonders for removing dirt and grime.
Make sure to rinse your shoes thoroughly after scrubbing to remove any cleaner residue, as rinsing thoroughly helps prevent discoloration.
Now, if you’re dealing with scuffs, here’s a neat trick: a slightly damp magic eraser can really help lift those marks without needing any harsh chemicals.
Just make sure to test it on a small area first so you don’t accidentally damage your kicks!
Effective Sole Cleaning
Frequently overlooked, the soles of white Vans accumulate dirt and scuffs that dull their appearance. You can restore their brightness with targeted cleaning methods.
Start by dampening a magic eraser and scrubbing the soles in circular motions to lift embedded grime without soaking the shoes. Using gentle cleaning tools helps avoid damaging delicate surfaces on your shoes.
Next, use a soft brush dipped in warm soapy water to gently clean textured areas, wiping away residue afterward.
This approach aligns with using common household items like soap and water for an effective clean.
For stubborn discoloration, apply a baking soda and water paste, let it sit 15-20 minutes, then scrub and rinse lightly. Rinsing thoroughly prevents leftover residues that can attract dirt and cause stickiness on surfaces.
Finally, consider a commercial cleaner like Shoe MGK for deep cleansing and conditioning, followed by a dry towel wipe.
These steps help maintain your Vans’ crisp, white look efficiently and safely.
Scuff Removal Techniques
When dealing with scuffs on your white Vans, start by carefully identifying the type and location of each mark.
Surface scuffs on rubber soles can often be lifted with a gentle baking soda paste applied using a soft brush.
For scuffs on canvas, dilute white vinegar 1:1 with water, apply briefly, then rinse and air-dry.
For leather areas, especially those made of softer types like Nappa, scuffs often manifest as surface scratches and discoloration that require gentle treatment to avoid further damage to the delicate soft leather.
For embedded dirt in sole grooves, gently scrape with a plastic tool before cleaning.
Mechanical abrasion like fine steel wool can remove persistent rubber scuffs but use sparingly to prevent damage.
Always test any solvent or method on a hidden spot first to make certain material safety and colorfastness before full application.
Magic Eraser Usage
You’ll find that Magic Erasers provide a highly effective way to remove stubborn grime and scuffs from the rubber soles and midsoles of your white Vans.
The melamine foam works by gently abrading surface dirt without chemicals, but you must use it cautiously to avoid dulling finishes.
Here’s how to use it best:
- Lightly dampen the eraser and test it on a small, hidden area to make certain no damage.
- Use gentle, back-and-forth motions on rubber outsoles and midsole edges to lift scuffs. Regular cleaning after each wear helps prevent stains from setting, making Magic Eraser use more effective by reducing buildup. regular cleaning
- Cut fresh eraser sections frequently to maintain effectiveness and minimize abrasion.
- Avoid heavy pressure on painted trim and never use on canvas uppers or suede panels.
Finish by wiping the area and applying a protective spray to preserve the sole’s appearance.
Drying Your Vans Without Damage
Properly drying your Vans is essential to preserving their shape, color, and materials. After cleaning, remove insoles and loosen laces to boost airflow inside.
Remove insoles and loosen laces after cleaning to enhance airflow and preserve your Vans’ shape and color.
Stuff the shoes with absorbent paper towels or microfiber cloths to wick moisture and maintain structure. Replace stuffing if saturated. Blot excess water with a dry towel to cut drying time.
Air-dry your Vans at room temperature in a well-ventilated, shaded area. Avoid direct sunlight and heat sources like dryers or heaters that can warp or yellow the canvas and rubber. High heat can damage glue, leading to deformation or shoes coming apart.
Rotate your shoes once during drying to prevent moisture pockets. Elevate them on a rack or towel for full airflow around soles.
Using a cool fan can speed drying safely, but steer clear of heat-based devices to protect adhesives and prevent cracking.
Protecting Your Vans After Cleaning
Once your Vans are fully dry, it’s time to focus on shielding them from future wear and stains. Applying the right protective treatments prolongs their fresh look and durability.
- Spray a water- and stain-repellent made for your Vans’ material, whether canvas, leather, or suede, to prevent grime buildup and ease cleaning. For leather, add a conditioner to keep it supple.
- Use UV-protectant sprays on white rubber and fabric panels to slow yellowing caused by sun exposure.
- Treat rubber midsoles with a polymer sealant to repel dirt and reduce oxidation yellowing.
- Regularly reapply these treatments every few weeks, especially after wet cleanings or heavy wear, to maintain their effectiveness and keep your Vans looking crisp longer.
Common Mistakes to Avoid When Cleaning White Vans
Although cleaning white Vans might seem straightforward, certain common mistakes can quickly ruin their appearance and durability.
Cleaning white Vans seems simple, but common errors can easily damage their look and lifespan.
First, avoid bleach; it damages fabric, causes yellowing, and leads to permanent discoloration. Instead, use gentler alternatives like baking soda.
Never machine wash suede or leather Vans; this harms their shape and material integrity.
Always brush off loose dirt before cleaning; skipping this step pushes dirt deeper and risks stains setting permanently.
Use a soft brush or toothbrush with gentle, circular motions. Harsh scrubbing damages fibers and may cause snags.
Finally, never dry your Vans with heat or direct sunlight. High heat causes shrinkage and yellowing. Air-dry them in a ventilated area, stuffing with towels or paper to absorb moisture and maintain shape.
Frequently Asked Questions
Can I Use Bleach Safely on White Vans?
You can use bleach on white Vans, but you need to be very careful.
It’s best to dilute bleach heavily, like one tablespoon per quart of water, and test on a small area first.
Avoid bleach on leather or suede since it can cause yellowing and damage.
For canvas, apply gently with a soft brush, rinse thoroughly, and air dry away from direct sunlight.
Consider safer alternatives like baking soda and hydrogen peroxide for better results.
How Often Should I Clean My White Vans?
You’ll want to freshen up your white Vans every 2-3 weeks during spring and summer, and about once a month in fall and winter.
If you’re out and about a lot, especially in messy conditions, more frequent sprucing is key.
Don’t forget to tackle stains as soon as they appear and rotate between pairs when you can.
This keeps your kicks looking sharp and stretches their lifespan nicely.
Are There Eco-Friendly Cleaners Suitable for White Vans?
Yes, you can use several eco-friendly cleaners for your white Vans.
Try a baking soda and water paste to lift stains gently, or dilute white vinegar with water for grime removal.
Castile soap is great for painted and vinyl parts without harsh chemicals.
Oxygen bleach brightens rubber and fabric safely, while enzyme-based cleaners target organic odors.
Just test products on a small area first and rinse thoroughly to protect materials and the environment.
Can I Use a Washing Machine for Leather Vans?
You shouldn’t use a washing machine for leather Vans because it can warp, crack, or delaminate the leather.
Instead, spot-clean with a soft cloth and a pH-neutral leather cleaner or mild saddle soap.
After cleaning, apply leather conditioner to keep the material supple.
If you want a deep clean, consider professional leather cleaning services.
How Do I Restore Yellowed White Vans?
To restore yellowed white Vans, start by making a paste with baking soda and hydrogen peroxide.
Apply it evenly with a toothbrush, focusing on yellowed areas, and let it sit for about 30 minutes.
Then, gently scrub and rinse with cold water.
Avoid direct sunlight when drying; stuff them with microfiber towels and air dry in a shaded, ventilated spot to prevent further yellowing.
Master the Best Way to Clean White Vans for Long-Lasting Results
So, now you’re basically a Vans-cleaning guru. You’re ready to tackle stains like a pro and avoid turning your shoes into a soggy mess.
Remember, skipping the prep or over-soaking isn’t just careless; it’s practically Vans vandalism. Treat your white kicks with the respect they deserve, or you’ll end up with shoes that scream “I gave up.”
Clean smart, dry right, and protect well. Your Vans deserve more than just a lazy wipe-down.