Do You Remove Heating Element When Cleaning Oven: 3 Reasons [Unleashed]
Keeping your oven clean is not only essential for hygiene purposes but also for maintaining its efficiency. While regular wiping and cleaning of the oven keep it presentable, there might be times when you need to go the extra mile with a deep clean.
One common question during this process is whether or not you have to remove the oven’s heating element. While it is unnecessary in every instance, doing so can provide a deeper clean and help maintain the oven’s efficiency.
Moreover, it can prevent hazardous buildup, which can be hard to reach with the heating element intact. Today we’ll explore the various reasons why you might want to remove the heating element during cleaning and whether or not it is necessary.
Why Do You Need to Remove the Heating Element When Cleaning Oven?
When cleaning your oven, you may want to remove the heating element for the following reasons:
#1 To Access Hard-to-Reach Areas
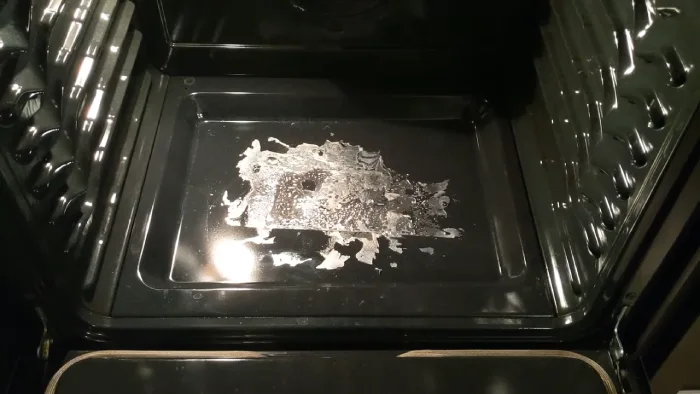
The heating element is often located at the bottom of the oven, which can make it difficult to clean the oven floor or any spills or debris that may have been collected around the element. Removing the element can give you better access to these areas and make cleaning easier.
#2 To Avoid Damaging the Element
The heating element is a delicate part of your oven. Harsh cleaning chemicals or scrubbing brushes can damage it. Removing the element before cleaning can help you avoid accidentally damaging and needing to replace it.
#3 To Ensure a Thorough Cleaning
If the heating element is not removed, it can be difficult to clean the entire oven floor or any areas that are covered by the element. Removing the element allows you to clean these areas more thoroughly, which can help prevent buildup and keep your oven running efficiently.
It’s important to note that not all ovens require the heating element to be removed for cleaning. Be sure to consult your oven’s manual or manufacturer’s instructions for specific guidance on cleaning your oven.
How to Clean Your Oven by Removing the Heating Element?
To effectively clean your oven, you will need several materials depending on how dirty your oven is.
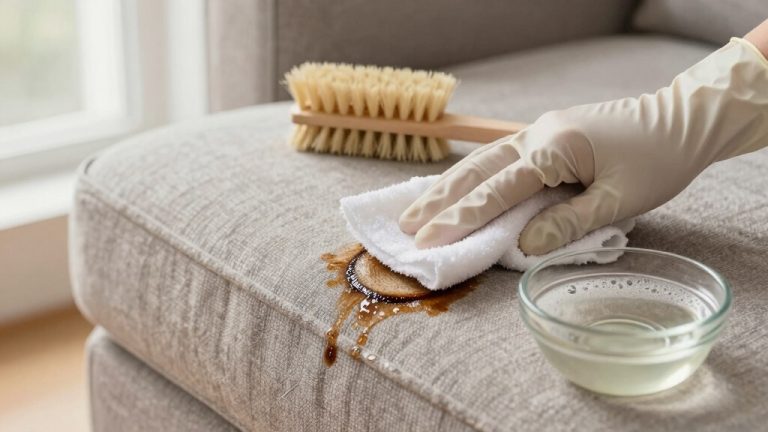
- Primarily you’ll need gloves and protective eyewear since some cleaners can be harmful when they come into contact with skin or eyes.
- You’ll also need a cleaner specifically designed for ovens and a scouring pad or brush to scrub off any stubborn stains. A microfiber cloth or sponge will also be useful for wiping away dirt and grime.
- Aside from these basic materials, you may consider baking soda and vinegar as natural alternatives to chemical-based cleaners.
Once you’ve gathered all your materials, you can start deep-cleaning your oven. To start cleaning your oven, follow these steps:
STEP #1. Preparing Your Oven for Cleaning
Before cleaning your oven, you must prepare it properly. This will ensure the process runs smoothly and remove dirt or residue from your oven walls and racks.
One of the essential steps in preparing your oven for cleaning is removing all removable parts, such as trays, grills, and shelves. These elements must be washed separately from the rest of the oven.
Another important step before cleaning your oven is turning off its power supply. For electric ovens, this means unplugging them from their electrical outlets. If you have a gas-powered stove with an electric starter, turn off the circuit breaker before cleaning.
STEP #2 Removing the Oven Racks
Remove all racks and accessories from inside the oven before proceeding with cleaning. This will make it easier to access all areas of the interior. Following proper procedures will ensure that your oven racks are properly removed and safe for cleaning.
STEP #3 Removing the Heating Element
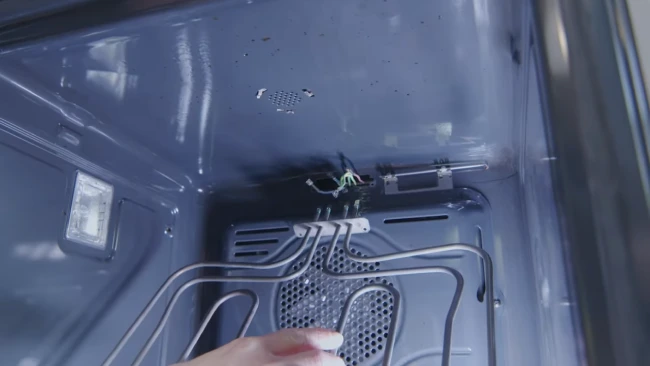
Removing the heating element would allow better access to thoroughly clean the oven’s interior. Before removing the heating element, make sure that you disconnect the power from your electric oven or turn off its gas supply.
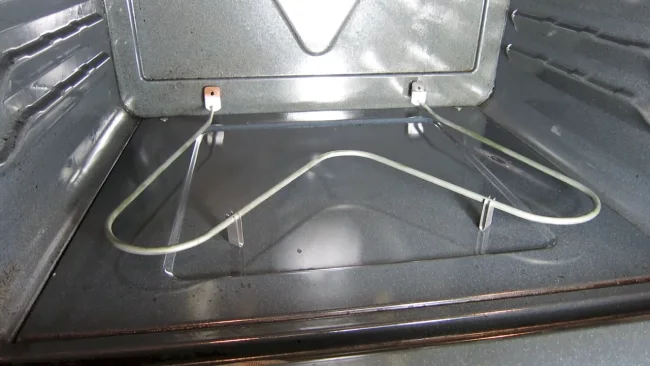
Afterward, remove racks inside the oven to avoid interfering with your work when removing the heating element. You could generally locate the heating elements at the bottom of most ovens, attached by screws or clips.
Loosen these connections using appropriate tools like pliers or screwdrivers and gently pull out the element until it comes free.
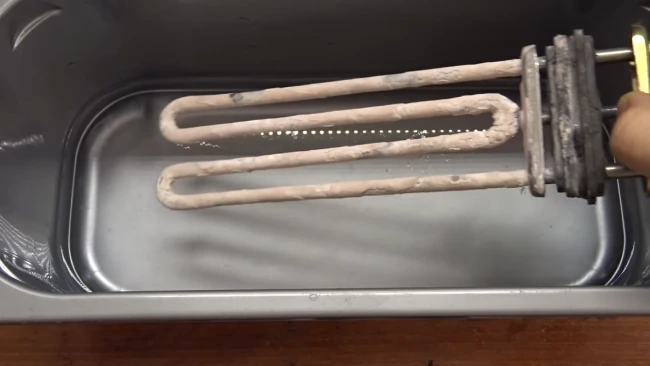
STEP #4 Cleaning the Heating Element
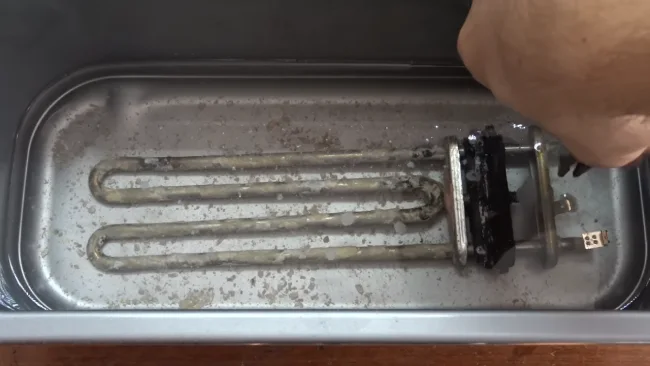
Having successfully removed the heating element from your oven, it is time to clean it thoroughly. The first step in cleaning a heating element is removing any visible debris or residue accumulated on its surface over time. This can be done using a soft cloth or sponge and warm soapy water.
Once you have cleared away any loose dirt or grime, take some time to inspect the heating element closely for signs of damage or wear and tear. Look out for any cracks, dents, scratches, or discoloration, which may indicate that the element needs replacing.
If you find any issues with your heating element during the cleaning process, consider calling an expert to help you fix them.
STEP #5 Cleaning the Oven Walls and Floor
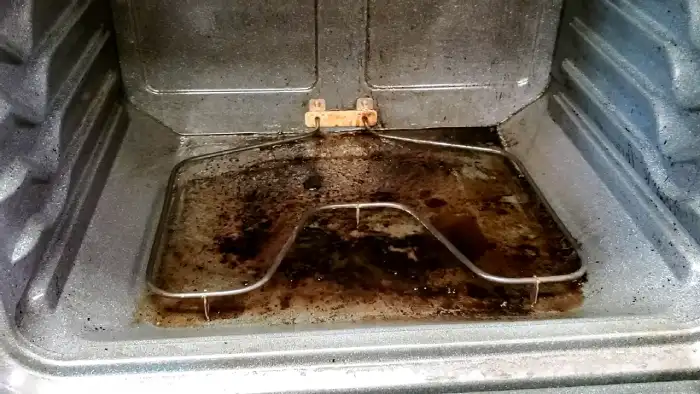
Removing any loose debris or large spills with a damp cloth or sponge is important to clean the oven walls and floor.
Once this step has been completed, an appropriate cleaning solution should be applied to the surfaces of the oven. There are many commercial oven cleaners available on the market that can effectively clean ovens without damaging them.
STEP #6 Cleaning the Oven Door
After cleaning the walls and floor of your oven, it is important to move on to the next section, cleaning the oven door. The oven door can accumulate a lot of grime and grease over time, affecting its functionality in terms of heat retention and overall performance.
STEP #7 Re-Position the Heating Element
Revers the process of removing the heating element described in step 4 to re-position it.
Are There Any Signs That Your Oven Needs to Be Cleaned?
Whether you’ve noticed telltale signs of grease, food residue and grime or are looking to ensure its safety and performance, regular cleaning is essential. To save time (and avoid disaster), watch out for these warning signs that mean your beloved appliance needs some TLC:
- Smoke is a common indicator that an oven needs cleaning, as a buildup of grease and food residue can cause the oven to produce excessive smoke while in use.
- Unpleasant odors can also indicate a dirty oven, as the grease and residue can produce a strong smell.
- Grease buildup, in particular, can be a sign that an oven needs cleaning, as it can cause dangerous flare-ups when the oven is in use.
- Lastly, food residue indicates that an oven requires cleaning, as the residue left in the oven can cause smoke and odors and burn during use.
What happens if you scratch the heating element during cleaning?
It may not work if the heating element is scratched while cleaning. Even minor damage, such as nicks or scratches, can compromise the element’s ability to generate heat at its normal capacity, resulting in uneven heating or failure to heat at all.
Additionally, scratches can cause the heating element to emit sparks or smoke during operation, which can pose a serious safety hazard. Therefore, it is essential to regularly inspect and clean your heating elements carefully to avoid damaging them and ensure optimal performance.
To keep your heating element in top shape, select cleaning materials carefully. Scratching or other damage can result in costly repair and replacement, which could take time away from enjoying the warmth that it provides- so pick wisely.
Do you need an electrician to change an oven heating element for cleaning?
As long as you have the proper knowledge and the oven has a plug connection at the back, disconnecting it from the mains is all that is required to change the oven heating element for routine cleaning. In this case, an electrical license is not necessary.
However, ensuring you know what you’re doing before attempting to repair your oven is crucial. You should hire a professional electrician if you’re not sure or don’t have technical knowledge.
This is because dealing with electrical appliances can be hazardous, and inexperience could lead to accidents or damage to the appliance itself. Overall, if you have the expertise and the necessary tools, replacing an oven heating element should be straightforward.
How long does it take to change a heating element in an oven?
Replacing or removing an oven heating element for cleaning typically requires moderate time and effort. Depending on the model and make of the oven, it can take 10 to 15 minutes or longer to complete the process.
The actual time to replace a heating element depends on several factors, like the element’s type and location, the wiring’s complexity, and the technician’s skill. Having this type of work done by a qualified professional is good, as safety risks can be associated with the process.
In short, while changing a heating element in an oven is not a particularly lengthy task, it requires care and attention to detail to be done properly.
Oven Element Removal: A Matter of Heat & Type
Cleaning an oven’s heating element can be a daunting task, and many people wonder if they should remove it to do so. However, it’s important to remember that every oven and heating element is different, and what works for one might not work for another.
If your oven smokes or smells when you turn it on, has grease or grime inside, or cooks unevenly, then it’s time to clean it. While cleaning your heating element regularly is important, replacing it is an option if it becomes damaged or corroded over time.
It’s important to note that replacing the heating element involves electrical connections that require specialized knowledge, so it’s best to get professional help. In general, the key is to use cleaning methods appropriate to your oven’s design while keeping it in good working condition.