How Do You Clean a Bubbler? Simple Tricks That Work Fast
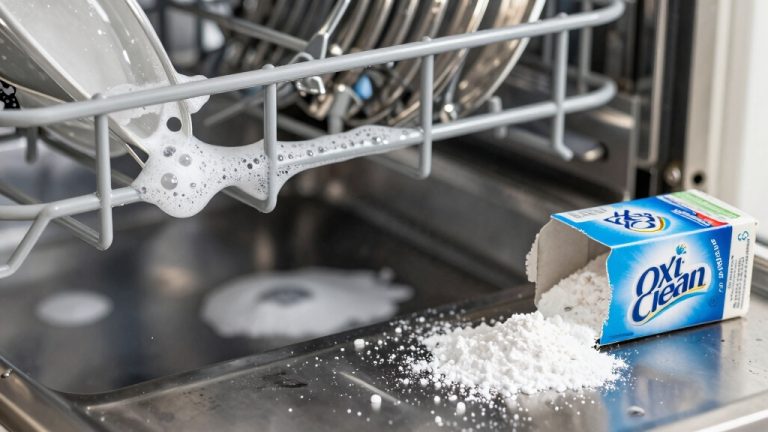
To clean your bubbler, first drain all water and carefully disassemble removable parts like the bowl and downstem. Rinse with warm water, then soak components in isopropyl alcohol and salt to remove residue.
Use brushes or pipe cleaners to scrub interior surfaces, pump, and tubing, checking for wear or algae buildup. Wipe the exterior with a sanitizer and guarantee mouthpieces are sanitized regularly.
For persistent mineral deposits, soak parts in vinegar solution. Keep going to discover detailed maintenance tips and prevent common issues.
Key Takeaways
- Drain all water and carefully disassemble removable parts for soaking and cleaning.
- Rinse and scrub interior surfaces with warm water and isopropyl alcohol using flexible brushes.
- Clean the exterior and basin by wiping with sanitizer and washing basin components in soapy water.
- Maintain the pump and tubing by cleaning with brushes, inspecting for damage, and replacing worn parts.
- Sanitize mouthpieces and high-touch areas by soaking in alcohol and salt, then air drying completely.
Preparing Your Bubbler for Cleaning
Before you start cleaning, make sure to completely drain all water from your bubbler. Carefully disassemble any detachable parts like the bowl and downstem. Handle glass components with care to avoid breakage. Using appropriate cleaning tools helps prevent damage during handling.
Gently separate detachable parts such as the bowl and downstem, treating glass pieces with caution to prevent breakage.
Place all removable parts into a resealable plastic bag or container for soaking. If your bubbler is one-piece, prepare to clean the mouthpiece exterior of any residue separately.
Prior to soaking, flush the inside with warm water to loosen debris. Avoid thermal shock by not using boiling water directly.
This preparation ensures all areas are accessible and ready for an effective cleaning soak. Proper disassembly and draining prevent damage and improve cleaning solution contact with resin buildup inside the bubbler components. Always empty the bubbler after use to prevent water stains and build-up.
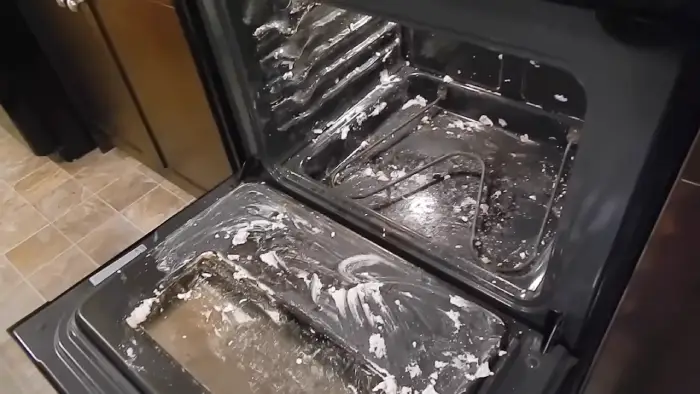
Cleaning the Exterior and Basin
When cleaning your bubbler’s exterior and basin, start by misting all visible surfaces—including panels, latches, and evaporator plates—with a suitable sanitizer or cleaning solution. Wipe these areas thoroughly to remove dirt and residue. Using products that are safe for various surfaces ensures no damage during cleaning.
For the basin, detach removable parts like trays and wash them with warm, soapy water. After washing, rinse the parts and let them air dry. Regular cleaning not only maintains the bubbler’s appearance but also helps prevent harmful contaminants such as mold from harboring in water.
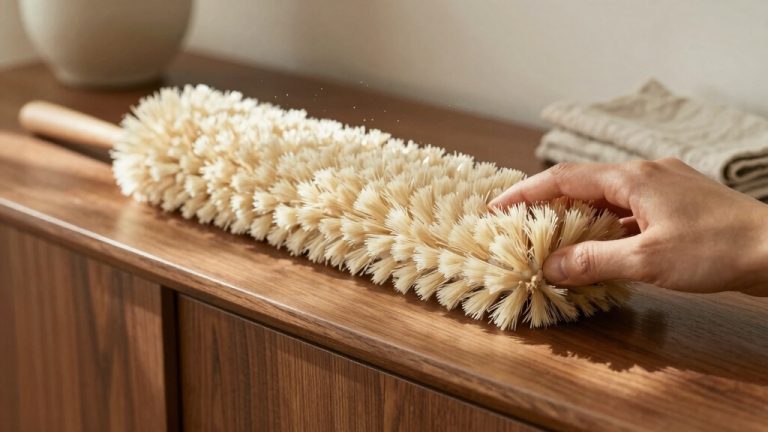
Use flexible brushes dipped in isopropyl alcohol to scrub inside the basin, focusing on hard-to-reach spots. This helps to dissolve any resin buildup. Proper ventilation during this step can help minimize any strong odors.
Follow these steps:
- Spray and wipe exterior surfaces with an approved sanitizer.
- Remove and clean detachable basin components with warm, soapy water.
- Scrub basin interiors using alcohol-soaked brushes to dissolve resin.
- Rinse all parts thoroughly and air dry completely before reassembly.
Maintaining the Pump and Tubing
Although the pump and tubing work behind the scenes, maintaining them is essential for your bubbler’s efficiency and longevity. Always keep the pump fully submerged during operation to prevent damage; avoid running it dry.
Clean the pump by removing it from the water, wiping the exterior with a soft brush, and disassembling components as per manufacturer instructions. Use a toothbrush to clear algae and sediment from the impeller and intake areas, then rinse thoroughly before reassembling.
Inspect tubing regularly for cracks or wear. Clean it with flexible brushes or water flushes, and ensure tight, sealed connections to prevent leaks.
Replace tubing if blockages or damage persist. Additionally, check seals and packing nuts for watertight integrity, tightening as needed to avoid water leakage and maintain reliable pump function.
For persistent buildups or organic residue within the tubing, consider using bleach’s oxidizing properties to help break down deposits safely and effectively.
Sanitizing Mouthpieces and High-Touch Surfaces
Since mouthpieces and high-touch surfaces come into direct contact with your mouth and hands, sanitizing them regularly is essential to prevent bacterial buildup and guarantee a clean, safe experience.
Follow these practical steps:
- Rinse mouthpieces with warm water daily or after use to reduce immediate residue and bacteria. Vacuuming and gentle agitation can also help remove debris from hard-to-reach areas before rinsing.
- Soak parts weekly in a 91%+ isopropyl alcohol and coarse salt solution for at least 30 minutes to dissolve biological residue and biofilms.
- Use cotton swabs or pipe cleaners dipped in alcohol to sanitize inside tight areas and other frequently touched surfaces. Disassemble the pipe into individual components before cleaning to ensure thorough sanitation of each part disassemble the pipe.
- Air dry mouthpieces completely post-cleaning to avoid moisture that encourages microbial growth. Employing airflow or fans can assist in faster drying and prevent mold prevention.
Managing Mineral Deposits and Algae Growth
If your bubbler uses hard water or sits in sunlight, expect mineral deposits and algae growth to form over time. Mineral deposits, mainly calcium and magnesium scale, appear as white, chalky layers, especially near water jets where evaporation is high. These deposits are caused by high levels of calcium and magnesium in water, often from hard tap water.
Hard water and sunlight encourage mineral buildup and algae growth, especially near evaporation-prone water jets.
Algae thrive in nutrient-rich, sunlit water and often accompany mineral buildup in stagnant areas. To remove deposits, soak affected parts in equal parts vinegar and water or apply lemon juice, then scrub gently with a soft brush.
For algae, regularly drain and clean the reservoir, use algaecide treatments, and keep water moving to prevent stagnation. Replace hard water with distilled or treated water to limit nutrient buildup.
Always rinse thoroughly to remove residues, protecting both the bubbler’s function and environmental safety.
Frequently Asked Questions
Can I Use Vinegar to Clean My Bubbler Safely?
Yes, you can use vinegar safely to clean your bubbler if you dilute it 1:1 with water. Vinegar effectively dissolves mineral buildup without harsh chemicals, but avoid prolonged exposure to prevent corrosion or damage to plastic parts.
Always rinse thoroughly to remove any acidic residue and odor, ensuring no vinegar traces remain that could affect taste or cause irritation. Don’t use it on electronics or delicate components.
How Do I Know if My Bubbler Needs New Filters?
You’ll know your bubbler needs new filters if you notice reduced water flow or pressure, unpleasant tastes or odors, or cloudy, discolored water.
Indicator lights on modern bubblers often signal filter status—green means good, yellow warns, red demands replacement. Also, visible sediment or debris on the filter signals clogging.
Follow manufacturer guidelines and replace filters every 6 to 12 months, or sooner if water quality deteriorates or flow slows.
What Should I Do if My Bubbler Leaks Water?
If your bubbler leaks water like a busted dam, don’t panic—act fast! First, check the water level; too high, and it overflows.
Tighten or replace any loose tubing or connectors.
Shut off power, drain it, and inspect seals for damage—replace if needed.
Look for cracks in the basin or pump issues causing pressure leaks.
Regular maintenance and proper parts keep your bubbler dry and running smoothly.
Is It Necessary to Wear Gloves During Bubbler Cleaning?
Yes, you should wear gloves during bubbler cleaning if you’re using chemical agents like bleach or vinegar, as they protect your skin from irritation and chemical burns.
Gloves also prevent bacterial contamination and cross-contamination. Opt for rubber or nitrile gloves that fit well and resist chemicals.
In low-risk situations with mild cleaning agents, gloves are optional but still recommended for hygiene.
Always change and remove gloves carefully to avoid contamination.
How Can I Prevent My Bubbler From Freezing in Winter?
You can prevent your bubbler from freezing by insulating all exposed pipes and components with foam sleeves or fiberglass insulation. Install heat tracing cables or tank heaters to maintain warmth, and keep a slow water flow through the system during cold spells.
Cover valves and joints with insulating tape, use windbreaks to shield outdoor parts, and maintain indoor temperatures above 55°F. Regularly inspect and adjust diffuser run times to minimize ice buildup and ensure continuous operation.
Don’t Wait for Buildup, Clean Your Bubbler Regularly
You’ve just conquered the bubbling beast with a sponge and elbow grease. Now, your bubbler won’t look like a science experiment gone wrong or a relic from a swamp expedition.
Keep up with regular cleanings—because nothing says “I’m responsible” like spotless tubing and algae-free mouthpieces.
Remember, a clean bubbler isn’t just about hygiene; it’s about avoiding that awkward moment when everyone notices the funky smell you ignored. Stay sharp, stay sanitized.