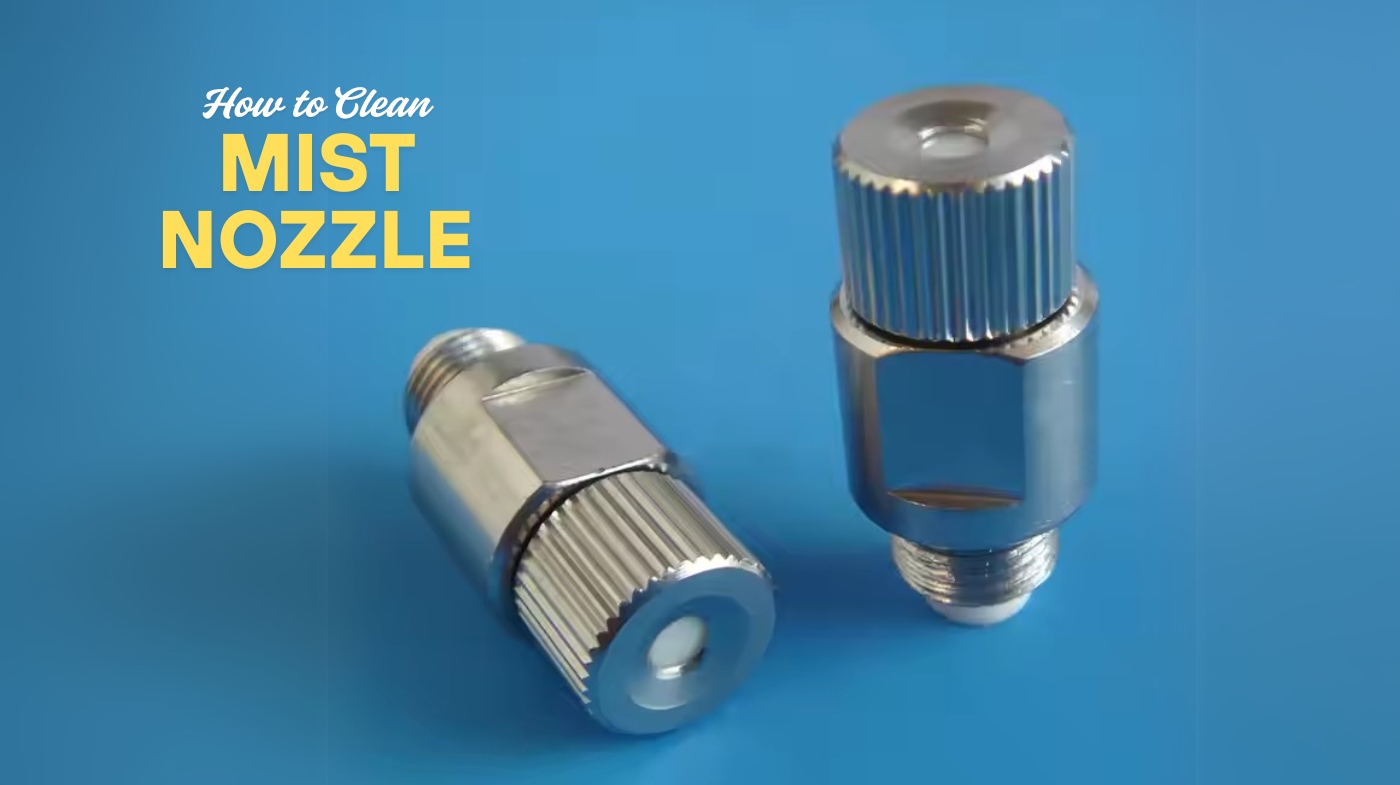
How to Clean Mist Nozzle? Step-By-Step Guide That Works
To clean your mist nozzle, first shut off and depressurize the system. Carefully disassemble the nozzle, removing internal parts like screens and electrodes.
Soak nozzle tips in a suitable solution, such as diluted vinegar or a mineral remover, for about 30 minutes. After soaking, rinse thoroughly with clean water and dry completely.
Reassemble parts precisely and test the spray pattern to guarantee proper function. For optimizing performance and longevity, understanding detailed maintenance steps can help you avoid common issues.
Key Takeaways
- Shut down and depressurize the misting system before disassembling the nozzle carefully using appropriate tools.
- Soak nozzle tips in a biodegradable cleaning solution or white vinegar for 30 minutes to dissolve mineral deposits.
- Use a soft brush or needle to gently scrub and unclog nozzle orifices without damaging delicate parts.
- Rinse thoroughly with clean water, dry completely, and reassemble nozzle components according to manufacturer instructions.
- Test the nozzle spray pattern and check for leaks after reassembly, adjusting or repeating cleaning if necessary.
Tools and Materials Needed for Cleaning Mist Nozzles
Before you begin cleaning mist nozzles, gather all necessary tools and materials to guarantee efficiency and safety.
You’ll need biodegradable, non-toxic cleaning solutions compatible with brass, stainless steel, and plastic, such as commercial products or household white vinegar. Always read label instructions for safety and system compatibility.
One effective option is an 8 Oz. Misting Nozzle Cleaner, which is specifically formulated to tackle mineral deposits on various nozzle materials.
Equip yourself with gloves and eye protection, especially when handling chemicals or mixing solutions. Prepare a screwdriver or prying tool for disassembly, and an airtight container or basin for soaking nozzles.
Use a soft brush or toothbrush for scrubbing, a needle for unclogging orifices, and strainers for rinsing small parts under running water.
Have clean cloths or paper towels for drying, a timer to monitor soaking times, and a magnifying glass to inspect blockages. Arrange a clear workspace to organize tools and parts efficiently.
Preparing the Mist Nozzle for Cleaning
When you start preparing the mist nozzle for cleaning, confirm the misting system is completely shut down and depressurized to prevent accidents.
First, turn off the power or water supply and release any built-up pressure. Next, disconnect or isolate the nozzle section from the main line for easier handling.
Begin by shutting off power or water and relieving pressure before detaching the nozzle from the main line.
Carefully remove all nozzle attachments, setting them on a clean surface. Separate rubber components such as O-rings and seals; wash them gently with warm water and mild detergent using a soft brush. Inspect these parts for damage or wear, as soaking o-rings in CLR for 5 minutes can help effectively clean them.
Prepare soaking solutions by filling containers with warm water and appropriate cleaners, like a vinegar-water mix or commercial descaler for scale buildup.
Disassembling the Mist Nozzle
To disassemble the mist nozzle, start by ensuring the system is fully shut down and depressurized to avoid accidents.
Firmly hold the nozzle in a clean, organized workspace. Use the appropriate disassembly tool or hand grip to turn and pull parts such as the charge ring and insert from the nozzle body. If applicable, unscrew the nozzle nut carefully.
Remove internal components like screens and electrodes gently, noting some electrodes may be glued and shouldn’t be forced. Keep track of small parts to prevent loss.
Use compressed air to clear dust before cleaning. Avoid excessive force to protect delicate parts and maintain spray integrity. Regular maintenance prevents future clogs and ensures optimal nozzle performance.
Separate the nozzle into main sections—tip, screen, nut, charge ring, insert, and electrode—preparing for targeted cleaning in the next step.
Choosing the Right Soaking Solution
Selecting the right soaking solution is essential for effectively dissolving mineral deposits without damaging your mist nozzle components.
Choose from CLR for rapid calcium, lime, and rust removal, soaking nozzle tips for 3 to 5 minutes. Alternatively, use white vinegar as a mild, natural acid; soak 5 minutes to overnight based on deposit severity.
Commercial misting nozzle cleaners offer non-toxic, biodegradable options safe for brass and stainless steel nozzles.
Avoid soaking entire assemblies; submerge only nozzle tips to protect internal parts such as o-rings and springs.
Before soaking, it is important to disconnect misting system from the water source to prevent any water-related hazards.
Diluted mixtures, like half vinegar and half CLR, require thorough rinsing to prevent corrosion. Always wear protective gear, work in ventilated areas, and follow manufacturer guidelines.
Soaking the Nozzle to Remove Deposits
Although soaking is a straightforward method, you must prepare nozzles properly by detaching and rinsing them before submerging in the chosen solution.
Detach and rinse nozzles thoroughly before soaking to ensure effective cleaning.
Use a container large enough to fully submerge the nozzle, and prepare a solution such as a 50/50 mix of white vinegar and water or a manufacturer-recommended cleaner.
Soak nozzles for 30 minutes, shaking or swirling periodically to dislodge deposits. After 30 minutes, inspect the nozzle; if deposits persist, extend soaking up to overnight but never exceed cleaner instructions to prevent damage.
Regular maintenance intervals vary by nozzle type and usage, so consult with spray specialists for the best schedule.
Wear gloves and guarantee ventilation for safety. Once soaking is complete, rinse nozzles thoroughly with clean water to remove residue, then dry completely before reassembly.
Cleaning Minerals and Debris From the Nozzle
When mineral deposits and debris resist soaking, you’ll need to employ mechanical cleaning methods to restore nozzle performance effectively.
First, remove the nozzle from the system, then secure proper eye protection. Use a wire wheel (part# VTB0002) or a stiff wire brush (part# VTB0001) to carefully clean the nozzle tip and exterior surfaces, avoiding aggressive scrubbing to prevent damage.
It is important to detach the nozzle completely, including O-rings, before starting mechanical cleaning to ensure thorough maintenance.
For stubborn clogs inside the orifice, employ the orifice cleaning tool with a 0.007″ stainless steel wire designed for 0.008″ holes. Perform cleaning periodically while the system runs to visually assess performance improvements immediately.
If mechanical methods fail, consider specialized misting system cleaners compatible with brass nozzles, but remember these complement rather than replace mechanical removal.
Rinsing and Inspecting the Nozzle
After mechanically removing mineral deposits and debris from the nozzle, you’ll need to thoroughly rinse and inspect it to confirm ideal function.
Begin by flushing the nozzle with warm, mineral-free water, applying gentle pressure to avoid damage to delicate internal passages.
Repeat rinsing until no visible residue remains and flow normalizes. To ensure accurate flow monitoring, measure liquid amount using a graduated container during rinsing.
Next, visually examine the nozzle exterior and orifice under magnification for cracks, corrosion, or residual deposits. Check O-rings and seals for integrity and proper seating to prevent leaks.
Measure flow rate and pressure during rinsing to detect partial blockages or wear, comparing results to baseline specifications.
Document all findings and confirm the nozzle is dry and free of ionic contaminants before proceeding to reassembly. This precision inspection confirms reliable misting performance and prevents future operational issues.
Reassembling and Testing the Mist Nozzle
Start reassembling the mist nozzle by carefully placing each component in the correct order according to the manufacturer’s instructions.
Reinsert the screen using tweezers or fingertips, ensuring it seats fully without forcing. Verify all internal parts are clean and free of debris before hand-tightening the assembly to prevent cross-threading.
When reattaching a hego nozzle, remember that it includes an O-ring for better sealing and reduced dripping.
Carefully reinsert the screen and ensure all parts are clean before hand-tightening to avoid cross-threading.
Use a 1/2″ wrench to lightly tighten the nozzle head, maintaining original alignment. Reattach the nozzle securely to the misting line, checking all connections for tightness.
With the system’s power off, confirm water supply is active and valves are open. Turn on the system for a test spray, observing mist pattern and inspecting for leaks.
If issues arise, turn off the system, disassemble, and repeat the process until the nozzle performs correctly.
Regular Maintenance Tips for Mist Nozzles
You should set a cleaning frequency based on how often you use the mist nozzle and the water quality feeding the system. Hard water with high mineral content demands more frequent maintenance to prevent clogging and wear.
Using a line strainer or built-in nozzle strainer can help reduce particulate buildup and extend nozzle life.
Cleaning Frequency Recommendations
Maintaining mist nozzles requires cleaning frequencies tailored to their usage intensity and environmental conditions.
If you operate nozzles continuously or with clog-prone materials, inspect and perform light cleaning daily. For regular use, clean weekly with a soft brush, and soak nozzles weekly in a non-corrosive solution to dissolve sticky or mineral deposits. Regular maintenance like this extends nozzle lifespan and reduces operational costs.
In less demanding setups, monthly or quarterly cleaning and inspections suffice. Monthly, remove nozzles for thorough soaking—use a diluted vinegar solution for 30 minutes—then brush and flush residues, rinsing thoroughly afterward.
Quarterly, test flow rates and inspect seals, replacing damaged parts as needed. Annual replacements prevent performance degradation.
Adjust intervals based on environmental factors like dust or mineral content to maintain ideal mist quality and system longevity.
Water Quality Importance
Regular cleaning schedules keep mist nozzles functioning well, but water quality greatly influences both nozzle performance and maintenance needs.
Hard water deposits minerals that clog nozzles, disrupting spray patterns and reducing efficiency. Contaminants like debris cause blockages and uneven mist distribution. Regular maintenance is critical to prevent costly repairs and maintain consistent spray patterns.
To prevent these issues, you should install water filtration and softening systems to minimize mineral buildup and particulate matter. Regularly test your water for hardness, contaminants, and microbial presence to detect problems early and adjust maintenance accordingly.
Drain the system after use to prevent bacterial growth and periodically disinfect hoses and reservoirs to maintain hygiene.
Frequently Asked Questions
How Often Should Mist Nozzles Be Replaced Instead of Cleaned?
You might wish your mist nozzles lasted forever, but they don’t. Replace them once their flow rate exceeds 10% above manufacturer specs or after spraying about 40,000 acres.
Inspect monthly for wear and uneven spray patterns, and check flow rates quarterly. If you spot visible damage, significant wear, or inconsistent consumption between nozzles, swap them out. Cleaning helps, but it won’t fix worn or damaged nozzles.
Can Mist Nozzles Be Cleaned Without Disassembly?
You can clean mist nozzles without disassembly by running vinegar or a mild cleaning solution through the system to loosen debris.
However, this method often leaves mineral deposits inside the orifices untouched, reducing effectiveness. For thorough cleaning, soak removable tips when possible. Avoid using picks or brushes on tiny openings to prevent damage.
What Are Common Causes of Mist Nozzle Clogging Besides Mineral Deposits?
You’ll find that mist nozzles clog not only from mineral deposits but also due to particulates in the fluid, such as raw material contamination, system corrosion debris, or environmental particles.
Fluid viscosity affects buildup and flow rates, increasing clogging risk. Neglecting system maintenance—like failing to clean filters or nozzles—also contributes.
Additionally, hard water, chemical residues, biological growth, and suspended particles from water lines commonly block nozzle passages.
Is It Safe to Use Bleach to Clean Mist Nozzles?
Did you know bleach concentrations above 20% can corrode sprayer components? It’s not entirely safe to use bleach for cleaning mist nozzles unless you keep it diluted properly. Always wear gloves and guarantee good ventilation.
After cleaning, rinse nozzles thoroughly to remove bleach residue and let them dry completely. Consider alternative cleaners like vinegar or baking soda to avoid corrosion and extend your nozzle’s lifespan.
How Does Water Hardness Affect Mist Nozzle Performance?
You’ll notice water hardness directly impacts mist nozzle performance by causing mineral deposits that clog nozzles and reduce water flow.
This scale buildup decreases mist quality by enlarging droplet size and disrupting even distribution. Hard water forces you to increase pressure, raising energy use and system wear.
To maintain efficient misting, you must treat water, install filters, and perform regular maintenance to prevent blockages and preserve nozzle lifespan.
No More Fog Fails: Maintain Like a Pro Every Time
Now that you’ve mastered cleaning your mist nozzle, you’re basically a nozzle-whisperer—capable of turning the gunkiest, most stubborn clog into a perfectly spraying masterpiece.
Skipping these steps is like inviting a fog machine apocalypse in your system—chaos guaranteed.
Follow this precise process every time, and your mist nozzle will perform flawlessly, saving you from unnecessary headaches and costly replacements. Keep it clean, keep it flowing, and watch your misting system run like a pro.


