How to Clean Oven Using Ammonia? Easy Step-by-Step Guide
To clean your oven with ammonia, start by removing the racks and wiping loose debris. Place a heat-safe bowl with ammonia inside the cool oven, close the door tightly, and let fumes soak grime overnight.
Afterward, ventilate well, wear gloves, and wipe down with warm soapy water to remove loosened residue. Use baking soda paste on stubborn spots, then neutralize odors with vinegar spray. Keep safety and ventilation in mind, and you can uncover more tips for thorough cleaning.
Key Takeaways
- Place a heat-safe bowl with ½ to 1 cup ammonia inside a cool oven, then seal the door tightly for overnight fume soaking.
- Remove oven racks and soak them separately in an ammonia-water mixture for 8-12 hours to loosen grime effectively.
- After soaking, wear gloves and scrub the interior using non-abrasive pads and diluted ammonia to remove softened grease and residue.
- Wipe down the oven interior thoroughly with warm, soapy water to remove ammonia residues and prevent odor.
- Ventilate the area well by opening windows and using fans, and neutralize ammonia odors with vinegar spray or baking soda.
Necessary Supplies for Ammonia Oven Cleaning
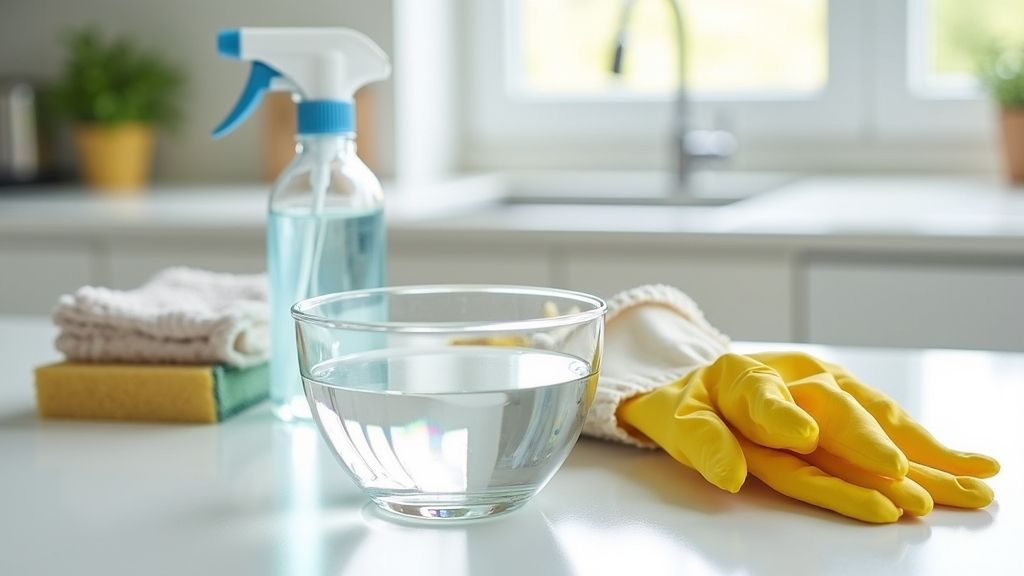
To clean your oven effectively with ammonia, gather a set of essential supplies that guarantee safety and efficiency. You’ll need household ammonia (5-10% concentration), a heat-resistant bowl to hold it, and gloves to protect your hands.
Use a sponge or scrubbing pad for wiping the oven interior after ammonia treatment, plus clean water for rinsing and odor removal. For tough stains, prepare baking soda, dish soap, vinegar solution, and non-scratch scouring pads.
A spray bottle helps apply diluted ammonia evenly. Ascertain proper ventilation using windows or exhaust fans, wear chemical-safe gloves, and consider a protective face mask to avoid inhaling fumes.
It is important to work in a well-ventilated area to minimize exposure to ammonia fumes. Additionally, ensure the oven is completely cool before starting to prevent accidents and facilitate cleaning.
Finally, have towels and paper towels ready for wiping and drying surfaces after cleaning. These supplies ensure a safe, thorough ammonia cleaning process. Remember that using heat-resistant gloves offers essential protection when handling chemicals and cleaning hot appliances.
Preparing Your Oven for Cleaning
Gathering all the right supplies sets you up for success, but your oven needs proper preparation before you start cleaning with ammonia.
First, remove the oven racks and soak them separately in hot water mixed with ammonia to loosen grime. Scrub them thoroughly after soaking.
Next, wipe out any loose debris and crumbs inside the oven with a dry cloth or brush—avoid using excess water to protect oven components. This method reduces manual scrubbing compared to other cleaning options. Proper ventilation is essential during cleaning to help fumes and chemicals escape and prevent lingering odors.
Preheat the oven briefly to a warm, not hot, temperature to help loosen stuck-on residue, then turn it off immediately. Make certain the oven interior is completely dry and free of food particles. Remove delicate items and foil to prevent adverse reactions.
Lastly, avoid applying ammonia near door seals to prevent damage during cleaning. Ensuring adequate airflow after cleaning is important to remove any residual fumes before using the oven again.
Ensuring Proper Ventilation and Safety
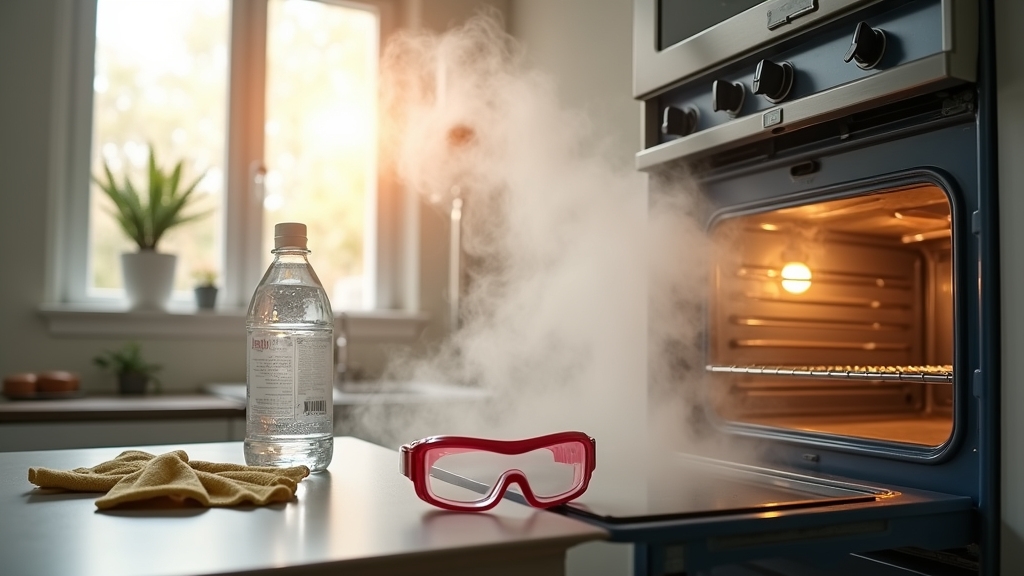
Although ammonia is effective for cleaning ovens, you must guarantee proper ventilation and safety throughout the process to protect yourself and your household. Poor airflow can trap harmful fumes, so take these precautions seriously.
Open multiple windows and use extractor fans for continuous cross-ventilation. This helps to keep fresh air flowing and remove harmful ammonia vapors from your home. Properly sealing and containing ammonia fumes is essential for safety. Using cleaning agents with adjustable temperature controls can further enhance safety and effectiveness in other cleaning tasks.
Wear chemical-resistant gloves and protective eyewear to prevent skin or eye irritation. These safety measures protect you from direct contact with ammonia.
Never mix ammonia with bleach or chlorine-based cleaners. Doing so can produce toxic gases that are extremely dangerous to breathe.
Keep doors to other rooms closed to direct ventilation and contain fumes. This helps to confine the ammonia vapors to the cleaning area.
Turn off gas supply and pilot lights before cleaning gas ovens. This step prevents ignition hazards and ensures a safer cleaning environment.
How to Position Ammonia Inside the Oven?
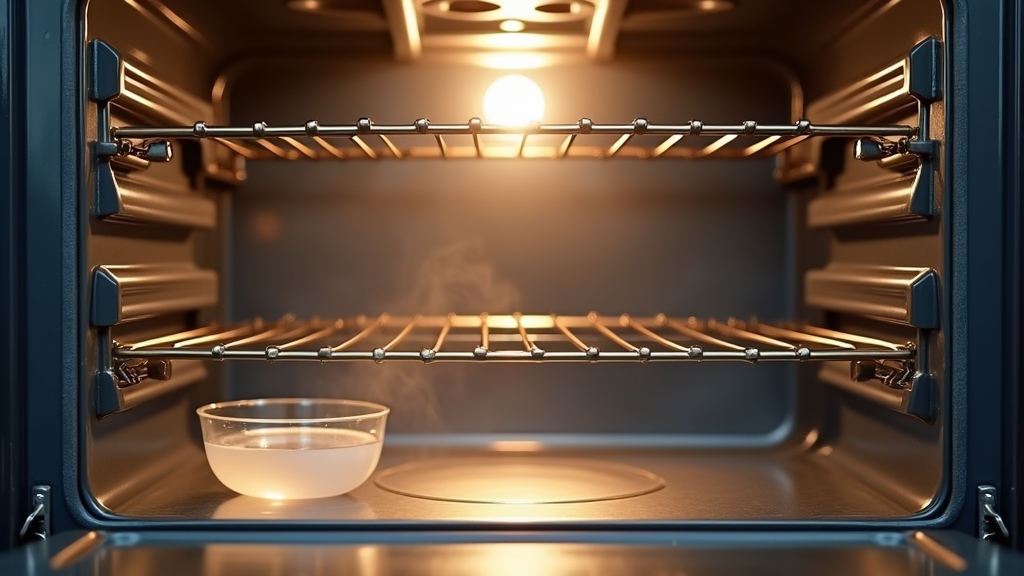
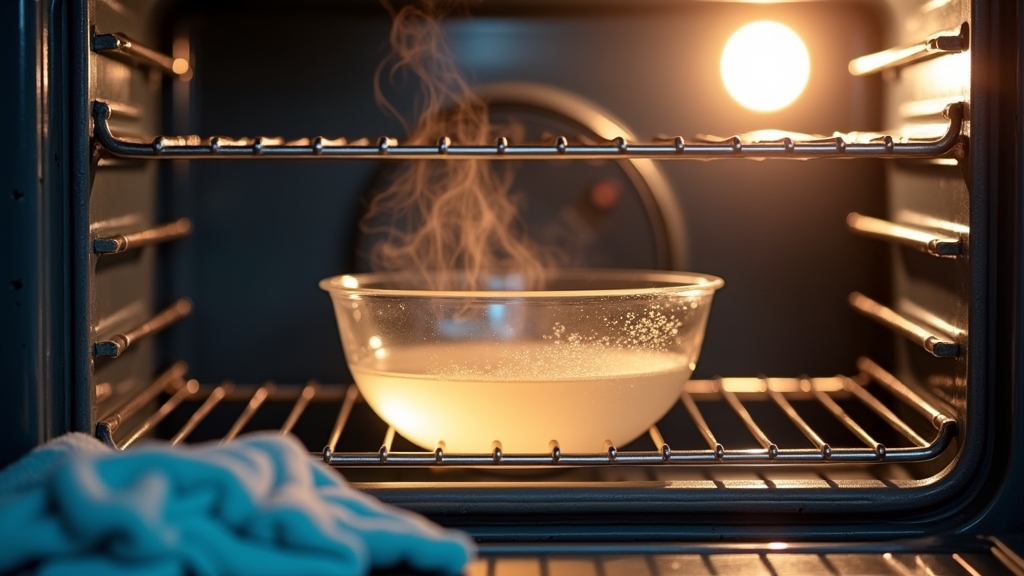
Place a heat-resistant bowl with half to one cup of ammonia on the top oven rack. This positioning helps guarantee even fume distribution throughout the oven. For better results, add a bowl of water on the bottom rack.
The water combines moisture with ammonia vapors, enhancing the cleaning process. Keep the oven door closed during this time. Avoid turning the oven on to maximize cleaning effectiveness.
It is important to wear rubber gloves at all times to protect your skin from ammonia contact. To ensure safety and avoid harmful reactions, always ensure proper ventilation by opening windows or using fans while using ammonia.
Ammonia Placement Tips
When positioning ammonia inside your oven, use a heat-safe bowl or glass dish to guarantee stability and safety. Place the bowl on the top or middle rack, centered to prevent tipping and avoid spills.
Keep it away from heating elements and the oven door gasket to protect seals. It is also important to remove combustibles from around the oven to reduce fire risks. Before placement, make sure the oven is cool and clean out crumbs or debris.
For best results, allow the ammonia to sit overnight to loosen baked-on grime effectively overnight cleaning. Seal the oven tightly after placing the ammonia to contain fumes for effective cleaning.
- Use a heat-safe bowl for ammonia
- Center the bowl on the top or middle rack
- Avoid proximity to heating elements and door gasket
- Ensure oven is cool and crumb-free before placement
- Seal oven tightly to trap fumes overnight
Enhancing Fume Effectiveness
To maximize ammonia fumes inside your oven, use a heat-resistant bowl and position it strategically on either the top or bottom rack. Choose the rack based on your oven’s size and rack arrangement. Removing racks not only allows vapor to circulate freely but also helps maintain oven hygiene.
Remove extra racks to allow vapor to circulate freely. Avoid placing ammonia directly on the oven floor to prevent spills.
Keep the oven door closed tightly for 8–12 hours. This will let the fumes loosen grime effectively. Additionally, ensure the oven is completely cool before starting to avoid any ammonia fumes in heat.
| Position | Effectiveness |
|---|---|
| Top rack | Promotes upward fume circulation |
| Bottom rack | Maximizes space and vapor spread |
| Removed racks | Enhances fume reach to all areas |
| Opposite grime | Ensures fumes travel across oven |
| Avoid floor | Prevents spills, regulates fumes |
Optimal Soaking Time for Ammonia Treatment
Although the ideal soaking time depends on grime severity, you should allow at least 15 minutes for ammonia fumes to start breaking down moderate grease and stains.
At least 15 minutes of soaking lets ammonia fumes begin breaking down moderate grease and stains effectively.
For heavy, burnt-on grime, soaking overnight (8-12 hours) is best to fully loosen residues. Avoid soaking less than 15 minutes, as it won’t soften grime effectively.
Keep the oven door closed during soaking to trap fumes and ventilate the area well to prevent irritation. This step is crucial especially when there is a heavy burnt-on mess at the bottom of the oven that requires thorough treatment.
Always handle ammonia with care and use protective gloves to prevent skin irritation.
Here’s what you need to know:
- Minimum 15 minutes for moderate dirt
- Overnight soak for heavy grime
- Oven door closed, good room ventilation
- Use gloves and avoid direct fume inhalation
- Post-soak scrubbing becomes much easier
Removing Oven Racks and Cleaning Them Separately
Before cleaning, turn off the oven and let the racks cool completely. Using non-abrasive tools helps prevent damage to the racks during cleaning. Remove the racks carefully using gloves to avoid injury.
Soak the racks in an ammonia solution or a detergent mix to loosen grime effectively. It is important to work outdoors with gloves when using ammonia to ensure safety. After soaking, scrub gently with a non-abrasive pad. Rinse thoroughly and dry completely to prevent rust.
Removing Oven Racks
When removing oven racks, you should always make certain they’ve cooled completely to prevent burns.
Start by lifting the rear of the rack slightly to disengage it from the supports. Pull it forward carefully, letting the stop-locks slide off. The stop-locks engage with the rack supports to hold the racks securely in position, ensuring stability during use. Stop-locks function
For glide racks, fully extend the rack, then lift at the hinge points, and pull out gently. Proper moisture control during cleaning helps prevent corrosion and damage to metal parts.
Handle racks cautiously to avoid bending or damaging mechanisms.
- Confirm racks are cool before removal
- Lift rear edge to disengage stop-locks
- Pull racks forward slowly to clear supports
- For glide racks, lift at locking teeth and pull out
- Avoid forcing racks to prevent damage
Soaking Racks Effectively
After you’ve carefully removed the oven racks, soaking them separately allows you to tackle stubborn grease more effectively.
Mix equal parts ammonia and water—about 1 cup each—in a heat-safe container or use a plastic bag or bathtub lined with towels to prevent scratches.
Ammonia can be applied to racks before sealing inside the trash bag, making it a professional cleaning approach without harsh chemicals. This method also helps avoid damage to delicate elements that can occur with harsh scrubbing.
Make certain good ventilation and wear gloves and splash-proof eyewear due to ammonia’s strong fumes. You don’t need to fully submerge racks; ammonia vapors penetrate crevices, breaking down baked-on grime.
Soak for 8 to 12 hours, preferably overnight, to let the alkaline solution and fumes soften grease. Using hot water can boost effectiveness. This method reduces scrubbing effort and cleans deeply, reaching areas scrubbing alone can’t. Always handle ammonia carefully and avoid mixing it with other cleaners.
Scrubbing and Drying
Since oven racks can be heavy and coated with grease, you should always let the oven cool completely before removing them to prevent burns. Wear gloves, grasp racks firmly, and pull straight out to avoid damage.
Set racks on a protected surface and inspect for loose debris before cleaning. After ammonia soaking, scrub gently with a non-abrasive pad, focusing on corners and edges where grime hides. The ammonia fumes loosen grime effectively, minimizing scrubbing required.
Use warm, soapy water to dissolve residual oils, then rinse thoroughly. Always cool oven before rack removal. Use gloves for protection, and scrub with non-abrasive pads. Rinse completely after scrubbing. Dry racks immediately or air dry fully. Dry racks well before reinstalling to prevent rust and ensure longevity.
Wiping Down the Oven Interior After Ammonia Soak
Although the ammonia soak has loosened stubborn grime, you’ll need to remove the bowl carefully while wearing gloves to protect your skin from fumes and residue.
Take out the oven racks and set them aside if you haven’t already. Leave the oven door open for a few minutes to ventilate and reduce lingering fumes. Proper soaking reduces scrubbing needed and facilitates cleaner results.
Using a damp sponge or cloth, start wiping from the top interior, working down to sides and bottom to avoid spreading residue. Avoid soaking the sponge to prevent excess moisture.
Use gentle motions and rinse or change the cloth often to avoid smearing grime. After initial wiping, prepare a dish soap and warm water solution to scrub away ammonia and grease residues, focusing on corners and crevices. Finish by wiping with a clean, damp cloth to remove soap residue thoroughly.
Tackling Stubborn Oven Spots and Residue
You’ll want to start by pinpointing the toughest baked-on stains that resist simple wiping. Use a scrubber soaked in an ammonia and dish soap mixture to break down greasy residue effectively.
For stubborn spots, apply ammonia directly and let it sit before scrubbing. This ensures thorough removal of the toughest oven stains. Ammonia is a strong alkaline cleaner that breaks down stuck-on grease and carbonized food, making it especially effective for deep cleaning ovens.
Identifying Tough Stains
When tackling stubborn oven spots, you need to recognize the specific types of tough stains you’re dealing with. Understanding these helps you apply ammonia effectively to loosen residues without damaging surfaces.
Tough stains often include baked-on grease, carbonized food, and burnt sugar deposits that have hardened from heat exposure. Here’s what to look for:
- Blackened, crusty carbonized food particles
- Shiny or dull greasy patches that feel tacky when cool
- Sticky, brownish burnt sugar drippings with a glossy finish
- White or chalky mineral or residue spots from cleaning products
- Mixed zones combining grease, carbon, and burnt food grime
It is important to note that ammonia cleaning process involves placing a bowl of ammonia inside the oven and allowing its fumes to loosen grime over several hours.
Identifying these precisely guides you in targeting ammonia treatment to break down grime chemically and prepare it for easy removal.
Effective Scrubbing Techniques
Recognizing tough oven stains sets the stage for effective scrubbing that truly removes stubborn spots and residue. Start by wearing rubber gloves and eye protection to handle ammonia safely.
Use non-abrasive scrubbing pads or a soft-bristle brush soaked in diluted ammonia, applying circular motions from the top down to avoid drips on clean areas.
For heavily burnt spots, apply a baking soda paste alongside ammonia for gentle abrasion. Focus scrubbing on edges, heating elements, and the back panel, where residue tends to build up.
If stains persist, reapply ammonia and let it soak longer before scrubbing again. Keep a bucket of warm, soapy water handy to rinse your tools frequently, and wipe surfaces with clean, damp cloths to remove residue as you work.
Residue Removal Tips
Although scrubbing can remove much grime, ammonia’s fume soak method tackles stubborn baked-on residue by softening grease overnight, making cleanup easier and less labor-intensive.
Place half a cup of ammonia in a heat-resistant bowl inside the oven and close the door overnight. The fumes loosen tough grease, so the next day you can wipe away residue with less effort.
For stubborn spots, reapply ammonia directly and use plastic scrapers to gently lift softened grime without scratching surfaces. After cleaning, air out the oven thoroughly to remove odors.
- Soak racks with ammonia to loosen grime
- Use warm ammonia and dish soap solution for wiping
- Focus on corners and door seals
- Avoid harsh abrasives or metal tools
- Boil water in the oven post-cleaning to dissipate fumes
Neutralizing Ammonia Odors Post-Cleaning
Three effective strategies can help you neutralize ammonia odors after cleaning your oven with ammonia.
First, spray a diluted white vinegar solution on surfaces to chemically counteract the basic ammonia molecules without damaging your oven. Avoid over-saturating to prevent mold growth. Regular steam cleaning is highly effective in removing bacteria and odors, and should be part of ongoing maintenance.
Use diluted white vinegar on surfaces to neutralize ammonia safely without harming your oven; avoid excess moisture.
Second, use baking soda on residual odor spots; it absorbs ammonia and can be combined with hydrogen peroxide and dish soap for tougher odors.
Third, improve ventilation by opening windows and running exhaust fans to dilute and remove lingering ammonia gas from your kitchen air. These methods collectively reduce ammonia’s pungent smell efficiently.
For persistent odors, consider commercial mineral-based neutralizing wipes that chemically capture ammonia or enzyme-based cleaners that break it down at the molecular level.
Safety Tips and Precautions When Using Ammonia
When you use ammonia to clean your oven, maintaining proper ventilation is essential to avoid inhaling toxic fumes. Open windows or use fans to keep airflow steady and avoid confined spaces.
Always wear chemical-resistant gloves and eye protection. Consider wearing a mask if fumes are strong to further protect yourself.
Never mix ammonia with bleach or other chemicals. Doing so can create dangerous gases that are harmful to your health.
After cleaning, ventilate the area thoroughly. Wipe surfaces to remove any ammonia residue left behind.
- Use gloves and goggles to protect skin and eyes
- Avoid mixing ammonia with bleach or acids
- Keep windows open and use fans for ventilation
- Seal oven door during cleaning to contain fumes
- Dispose of ammonia materials per local regulations
Frequently Asked Questions
Can Ammonia Damage the Oven’s Heating Elements or Interior Coating?
Ammonia generally won’t damage your oven’s heating elements if you use it as vapor and avoid direct liquid contact. Nickel-chromium elements resist ammonia well. However, prolonged exposure to concentrated fumes might cause minor corrosion on some metals.
For interior coatings, brief ammonia exposure loosens grease without harm, but leaving liquid on surfaces too long can dull or discolor them. Always ventilate and wipe thoroughly to protect your oven’s components.
Is Ammonia Safe to Use on Self-Cleaning Ovens?
Ammonia isn’t generally safe for self-cleaning ovens. Its harsh fumes can damage enamel coatings and sensors, risking costly repairs. You should avoid using it directly inside; instead, rely on the oven’s high-heat self-clean cycle to burn off grime.
If you do use ammonia, do so cautiously—only in electric ovens, with excellent ventilation, and never combine it with other cleaners. Always check your manufacturer’s guidelines before proceeding.
How Often Should I Clean My Oven With Ammonia?
You should clean your oven with ammonia every 3 to 6 months, depending on how often you cook greasy or saucy meals that leave stubborn grime behind. Think of it as giving your oven a deep breath to stay fresh and efficient.
If you bake or roast frequently, consider cleaning more often.
Don’t forget to wipe spills monthly to prevent buildup—this reduces how often you’ll need that intense ammonia treatment.
Can Ammonia Cleaning Remove Burnt Food From the Oven Glass?
Yes, ammonia cleaning can remove burnt food from oven glass effectively. Its strong alkaline nature breaks down baked-on grease and carbonized residues.
By placing a cup of ammonia inside the oven overnight, the vapors loosen stubborn grime, making it easier for you to wipe off burnt spots. However, very thick or heavily carbonized food may still require some manual scrubbing afterward for complete removal.
Always guarantee good ventilation while using ammonia.
What Should I Do if I Accidentally Spill Ammonia Inside the Oven?
If you find yourself hosting an unexpected ammonia encounter inside your oven, turn it off right away and air out the area by opening windows and doors.
Protect yourself with gloves and eye gear, then gently wipe the spill with a damp, soapy cloth.
Avoid mixing chemicals, keep children and pets away, and ventilate for hours before using the oven again.
Dispose of cleaning materials safely and wash your hands thoroughly.
Make Oven Cleaning Easy: Your Kitchen Deserves It
So, you’ve just bathed your oven in ammonia—because who doesn’t want their kitchen smelling like a science lab? Remember, while ammonia’s a cleaning champ, it’s also a chemical diva demanding respect: ventilate like your life depends on it (because it does).
Wipe thoroughly, tackle those stubborn spots, and don’t forget to air out the aftermath. Follow these steps, and your oven will be sparkling—just maybe keep the ammonia away from your cooking dinner plans.

