How to Clean Whiteboard Eraser: Quick DIY Cleaning Guide
You should clean your whiteboard eraser regularly to prevent ink buildup that causes streaks and reduces erasing performance.
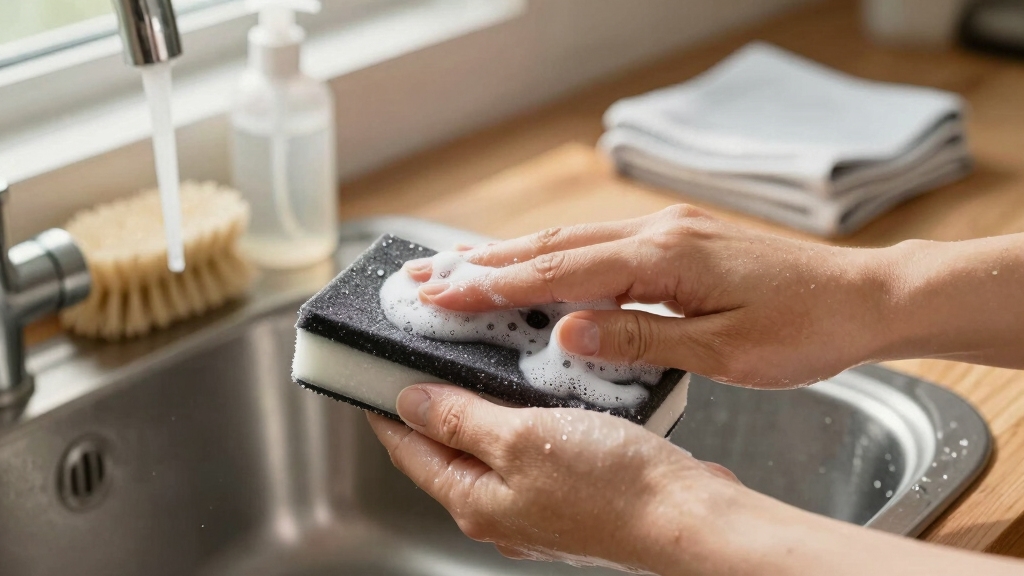
Start by brushing off dry debris. Then soak the eraser in warm, soapy water for 10–15 minutes and gently rub it to loosen residue.
Rinse thoroughly and air dry completely before use. Avoid harsh scrubbing or machine washing to protect the felt.
Keeping your eraser clean not only improves clarity but also extends its life. There’s more to learn about effective care and maintenance.
Key Takeaways
- Remove loose dust and dry ink by gently tapping or brushing the eraser before deep cleaning.
- Hand wash eraser in warm water with mild dish soap, rinse thoroughly, and air dry completely before reuse.
- Use a 30/70 isopropyl alcohol-water mix on a cloth for stubborn ink residue without damaging the felt.
- Avoid abrasive tools, machine washing, and harsh chemicals to preserve eraser material and felt pile.
- Clean eraser weekly for frequent use or when streaks, ghosting, or smearing appear on the whiteboard.
The Importance of Cleaning Your Whiteboard Eraser
Keeping your whiteboard eraser clean is essential to maintaining a clear, smudge-free surface. When your eraser accumulates ink and dust, it fails to remove markings effectively, leaving streaks and ghosting behind.
This buildup reduces visibility and forces you to apply more pressure, risking damage to the whiteboard’s coating. A dirty eraser can embed ink deeper into the board’s surface, making stains harder to remove.
Regular cleaning prevents these problems and extends your eraser’s lifespan. You’ll find writing and erasing easier, saving time during meetings or lessons.
Plus, a clean eraser helps maintain the board’s professional appearance, ensuring your messages stay sharp and readable every time you use it.
Use gentle cleaning methods and avoid harsh chemicals to protect the eraser’s material and ensure effective sanitizing and maintenance.
Hand Washing Whiteboard Erasers: Step-by-Step
A clean eraser makes wiping your whiteboard easier and more effective, so regular maintenance is key.
Keeping your eraser clean ensures smooth, streak-free whiteboard wiping and extends its lifespan.
To hand wash your whiteboard eraser, start by filling a basin with warm water and add a few drops of mild soap, like Dawn dish soap.
Submerge the eraser and gently agitate it to loosen dirt and marker residue.
Avoid scrubbing with abrasive pads to protect the felt surface.
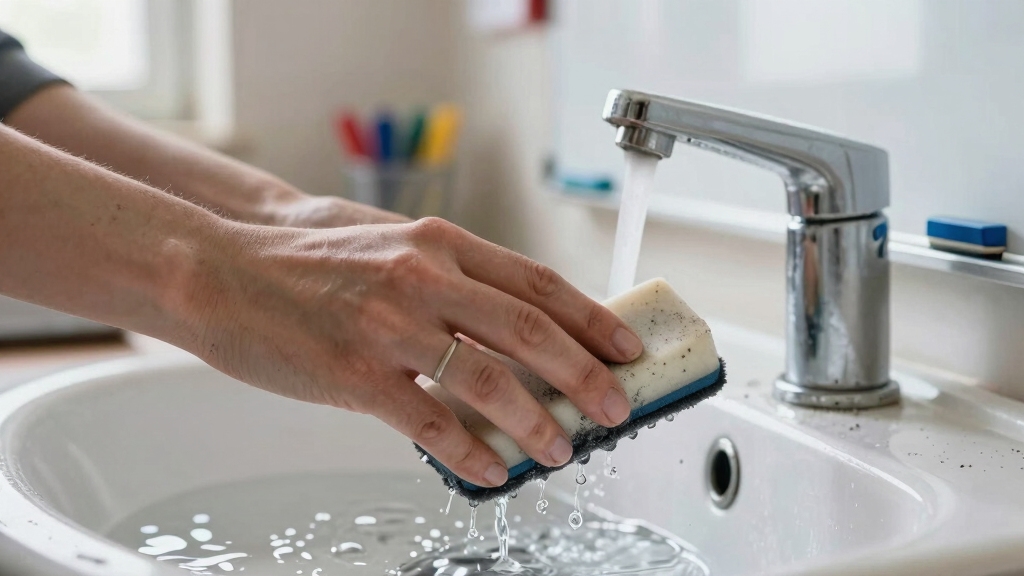
After soaking for a few minutes, rinse thoroughly under running water to remove soap.
Press the eraser gently between towels to remove excess moisture.
Don’t wring it out, as that can damage the material.
Let it air dry completely before using it again.
Regular hand washing preserves the eraser’s softness and effectiveness, preventing buildup that can cause streaks or damage your whiteboard.
For tough stains, consider using solvents with strong chemical solvency cautiously to avoid damage.
Preparing Your Whiteboard Eraser for Cleaning
Before you start cleaning your whiteboard eraser, make sure it’s free from loose debris and dry enough to handle safely.
Gently tap or brush off dust and dry ink particles to prevent spreading them during cleaning.
Check the eraser’s surface for hardened residue or embedded ink, as these spots may require targeted attention.
Avoid using abrasive tools or scrub pads that can damage the eraser’s felt or silicone coating.
If your eraser has a soft pile felt, it’s easier to clean without risk of damage.
Preparing your workspace with a soft cloth and mild cleaning solutions nearby will streamline the process.
Taking these preparatory steps guarantees you clean effectively while preserving your eraser’s longevity and performance.
Immediate action is important because stains begin setting within minutes, making early cleaning more effective.
Household Solutions for Removing Tough Ink From Whiteboard Erasers
If you’ve got tough ink on your whiteboard eraser, don’t worry! You can easily tackle it using some simple household items.
For starters, try soaking it in soapy water. This method gently lifts those pesky stains without causing any damage to the surface.
Now, if the marks are a bit more stubborn, you might want to reach for some white vinegar or even WD-40. These alternatives are super effective at breaking down ink residue quickly.
Plus, they help restore your eraser’s performance without the need for harsh chemicals or excessive scrubbing. It’s a win-win!
To maintain its effectiveness, consider setting a regular cleaning frequency to prevent buildup and extend the eraser’s lifespan.
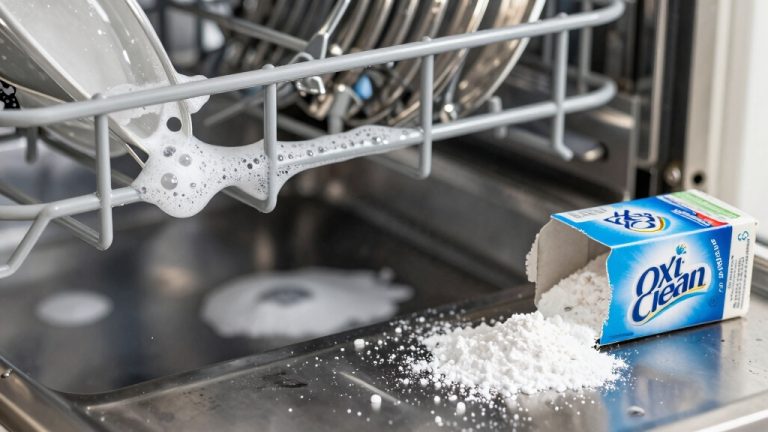
Soapy Water Cleaning
When tackling tough ink stains on your whiteboard eraser, soaking it in soapy water can work wonders. Use mild dish soap like Dawn mixed with warm water to loosen ink buildup without damaging the eraser’s felt.
Soak your eraser for 10–15 minutes, then gently rub the surface with your fingers or a soft cloth. Rinse thoroughly and let it air dry completely before use.
Choosing cleaning solutions with a pH-neutral formula ensures you won’t damage the eraser’s material while effectively removing stains.
| Step | Action |
|---|---|
| 1. Prepare solution | Mix warm water with dish soap |
| 2. Soak eraser | Submerge for 10–15 minutes |
| 3. Clean surface | Rub gently with cloth or fingers |
| 4. Rinse & dry | Rinse well, air dry fully |
This simple method refreshes your eraser and removes stubborn ink safely.
Vinegar and WD-40
If stubborn ink won’t come off your whiteboard eraser with soap and water, try wiping it down with household solutions like vinegar or WD-40.
Vinegar’s acidity helps break down ink residue without damaging the eraser’s surface. Dampen a soft cloth with white vinegar and gently rub the eraser until the ink lifts.
For tougher stains, spray a small amount of WD-40 onto the eraser, let it sit for a minute, then wipe off with a clean cloth.
WD-40 loosens dried ink and grime effectively but be sure to clean the eraser afterward with mild soap and water to remove any oily residue.
Both vinegar and WD-40 offer practical, easy alternatives to strong chemicals when tackling tough ink on your eraser.
Always ensure proper ventilation when using chemical cleaners to avoid inhaling harmful fumes associated with toxic substances.
How to Clean Your Eraser Without Damaging It?
Although whiteboard erasers may seem simple to clean, handling them carefully is crucial to avoid damaging their felt or foam surfaces.
Start by gently brushing off loose dust and marker residue with a soft cloth.
Begin by softly brushing away loose dust and marker residue using a gentle cloth.
Avoid abrasive tools like green scrub pads that can scratch or harden the eraser’s surface, reducing its effectiveness.
For deeper cleaning, hand wash the eraser using mild soap and warm water.
Skip machine washing to preserve the pile. Rinse thoroughly and let it air dry completely before use.
You can also lightly dampen a cloth with a 30/70 isopropyl alcohol-water mix to wipe the eraser’s surface, but avoid soaking it.
Following these steps guarantees you clean your eraser effectively without compromising its durability or performance.
To maintain the eraser’s effectiveness over time, consider using microfiber cloths, which are gentle and highly absorbent for cleaning delicate surfaces.
Ideal Cleaning Frequency for Whiteboard Erasers
Hey there! It’s really important to keep your whiteboard eraser clean if you want it to work effectively.
You definitely don’t want any buildup getting in the way of a smooth writing experience, right?
So, if you start seeing streaks, ghosting, or if it feels like you’re scrubbing harder than usual, that’s your cue to give it a good clean.
A good tip is to set a cleaning schedule—maybe weekly or biweekly—especially if you use it a lot.
That way, you can keep it in top shape and make sure your whiteboard stays looking fresh!
Regular maintenance ensures the eraser performs well and avoids issues like residue buildup that can affect cleaning efficiency, similar to how vacuum maintenance extends the life and effectiveness of cleaning tools.
Cleaning Schedule Recommendations
Regularly cleaning your whiteboard eraser keeps it effective and prevents ink buildup that can damage both the eraser and the board.
For daily users, like teachers or office workers, clean your eraser weekly to maintain peak performance. If you use the eraser less frequently, a monthly cleaning should suffice.
Always inspect the eraser’s surface before cleaning to avoid unnecessary washes. When you clean, use mild soap and warm water or a 30/70 isopropyl alcohol-water mix to remove residue without harming the felt.
Avoid soaking the eraser for too long to preserve its material. Sticking to this cleaning schedule guarantees your eraser lasts longer and keeps your whiteboard spotless.
Adjust frequency based on usage intensity and environment to prevent buildup effectively. Using non-toxic cleaning products can help protect the eraser’s material while reducing exposure to harmful chemicals.
Signs Eraser Needs Cleaning
Often, whiteboard erasers show clear signs when they need cleaning to maintain their effectiveness.
If you notice streaks or ghosting on the board after erasing, it’s a sure sign your eraser’s surface is clogged with ink residue.
When the eraser feels hardened or stiff instead of soft and fluffy, it’s time for a deep clean.
You might also see visible ink buildup or dirt embedded in the felt or foam.
If your eraser smears marks instead of removing them cleanly, don’t wait. Clean it right away.
Regularly inspecting your eraser for these signs helps avoid damage to your whiteboard and guarantees smooth erasing every time.
Ideally, clean your eraser every few weeks or when these symptoms appear.
Proper cleaning and drying techniques prevent buildup of residue and irritants that can affect eraser performance and indoor air quality.
Simple Ways to Make Your Eraser Last Longer
Maintaining your whiteboard eraser properly can substantially extend its lifespan and keep it working effectively.
Proper care of your whiteboard eraser ensures it lasts longer and erases smoothly every time.
First, avoid using abrasive materials or scrubbing too hard, as this can damage the eraser’s surface and reduce its ability to pick up ink.
Clean your eraser regularly by hand with mild soap and warm water or a 30/70 isopropyl alcohol-water mix.
Let it dry completely before use to prevent damage to the felt.
Store your eraser in a dry place, away from direct sunlight, which can harden the eraser and make it brittle.
Also, avoid machine washing or harsh chemicals that ruin the pile.
Frequently Asked Questions
Can I Use a Dishwasher to Clean My Whiteboard Eraser?
You shouldn’t use a dishwasher to clean your whiteboard eraser. The heat and harsh detergents can damage the eraser’s soft pile or felt, causing it to harden and become ineffective.
Instead, hand wash it gently with mild soap and warm water, then let it air dry. This method preserves the eraser’s texture and longevity, ensuring it cleans your whiteboard properly without causing damage or leaving residue behind.
Are There Any Eraser Types to Avoid for Whiteboards?
Avoid green scrub pads, hard dirty erasers, and old erasers hardened like bricks. They scratch, embed ink, and damage your whiteboard’s surface permanently.
Skip abrasive tools that ruin the board’s silicone coating. Instead, choose soft pile felt erasers that clean easily and preserve your board’s finish.
Keeping your erasers gentle helps maintain clarity, prevents ghosting, and extends your whiteboard’s life without sacrificing performance or appearance.
How Do I Remove Permanent Marker From the Whiteboard Surface?
To remove permanent marker from your whiteboard, start by applying isopropyl alcohol (70%) onto a soft cloth, then gently rub the stained area.
You can also use WD-40 for stubborn marks, followed by an alcohol wipe to clean residue. Hairspray works well for small spots.
Avoid abrasive tools to prevent surface damage. These methods erase permanent ink effectively, restoring your whiteboard to a clean, ghost-free condition.
Is It Safe to Use WD-40 on Whiteboard Erasers?
You might hesitate when you spot that stubborn grime on your whiteboard eraser and wonder if WD-40 is the fix.
Yes, you can use WD-40 on erasers, but cautiously. It’s great for loosening tough residue, yet you must follow up by thoroughly cleaning with isopropyl alcohol or mild soap and water.
This prevents oily buildup that could damage your eraser’s felt or silicone coating. Don’t soak it; a light application works best.
Can Old Erasers Be Restored or Reused Effectively?
You generally can’t restore old whiteboard erasers effectively. Once they harden and turn brick-like, their felt pile loses softness and trapping ability, so they won’t erase well.
Instead, try rinsing heavily soiled erasers with mild soap and water to extend life a bit.
Avoid machine washing or abrasive scrubbing; they do more harm. For best results, replace old erasers when cleaning doesn’t bring back good performance.
Stay Sharp: The Secret to a Long-Lasting Eraser
Think of your whiteboard eraser as the unsung hero of your workspace. It quietly wipes away chaos, keeping ideas clear.
By regularly cleaning it using simple household tricks, you’re giving it a fresh breath to perform at its best. Don’t let stubborn ink stains dim its shine or shorten its life.
With a little care, your eraser will stay sharp, reliable, and ready to help you create without limits. Keep it clean, keep it lasting.