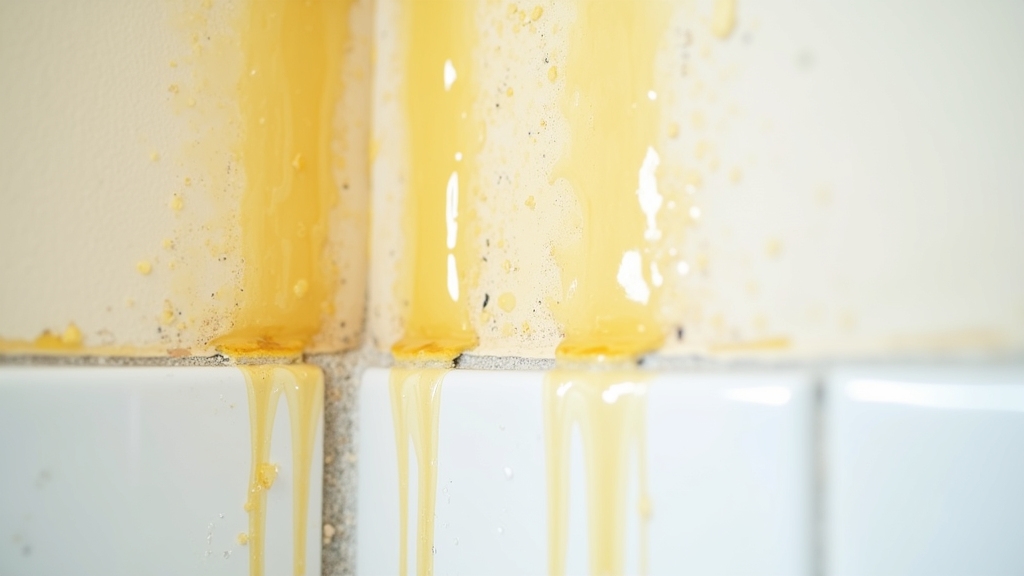
How to Clean Yellow Drips on Bathroom Walls? Simple Tricks
To clean yellow drips on your bathroom walls, first identify whether they’re caused by water stains, mold, hard water minerals, or product residue.
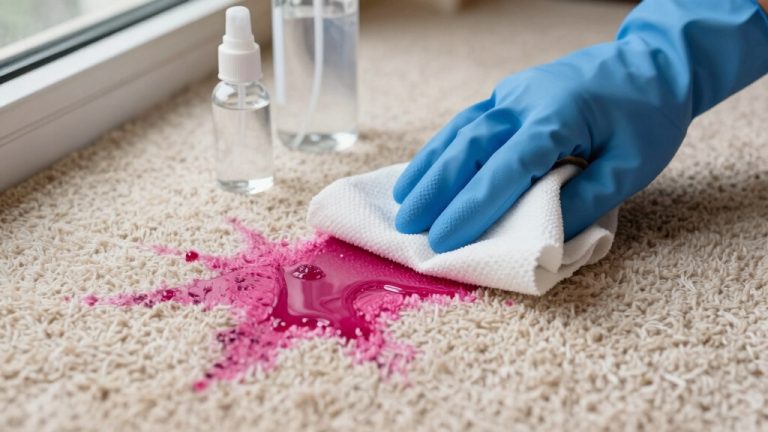
Use a gentle cleaner like a baking soda and hydrogen peroxide paste, vinegar solution, or a diluted bleach mix for mildew. Always test in a small spot.
Scrub gently with a soft brush, rinse thoroughly, and dry the area well to prevent recurrence. Improving ventilation and regular cleaning can help keep stains away. You can explore additional targeted solutions and prevention tips ahead.
Key Takeaways
- Identify the source of yellow drips, such as water leaks, mold, or mineral deposits, before starting cleaning.
- Use a baking soda and hydrogen peroxide paste, apply for 30 minutes, then gently scrub to remove stubborn yellow stains.
- Spray vinegar on stains, sprinkle baking soda, let fizz, scrub gently, then rinse thoroughly and dry the walls.
- Wear gloves and ensure good ventilation; avoid mixing bleach and vinegar to prevent toxic fumes during cleaning.
- Improve bathroom ventilation and regularly clean walls with mild soap to prevent moisture buildup and future yellow drips.
Common Causes of Yellow Drips on Bathroom Walls
When yellow drips appear on your bathroom walls, several common causes could be responsible, ranging from water damage and mold growth to mineral deposits and residues from personal care products.
Water leaks from pipes, roofs, or windows often cause yellow staining, especially if condensation persists, leading to peeling paint and visible spots. These leaks can also foster mold and mildew, which thrive in humid, steamy environments. Addressing persistent moisture issues is critical to prevent microbial growth that can further damage surfaces.
Persistent condensation from leaks often results in yellow stains, peeling paint, and visible spots on bathroom walls.
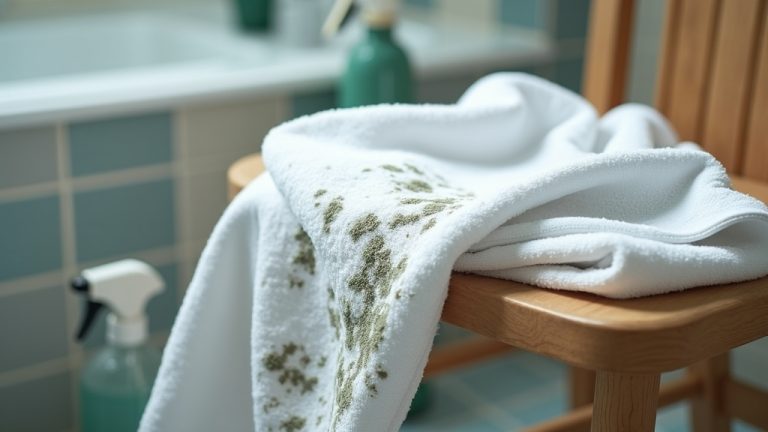
Mold and mildew thrive in damp, poorly ventilated spaces, producing yellowish discolorations that worsen without proper airflow.
Hard water minerals, especially iron, leave yellow or rust-colored residues near faucets or showers after evaporation.
Personal care products like soaps and shampoos can react with these minerals, creating soap scum that solidifies into yellow drips.
Identifying the Source of Yellow Stains
Although yellow stains on bathroom walls can stem from various issues, pinpointing their exact source is crucial for effective cleaning and prevention.
Start by checking for water damage signs like water spots, peeling paint, or stains near plumbing lines. Note any musty odors or persistent stains in damp corners that might indicate mold or mildew.
Humidity and poor ventilation often promote mold and mildew growth, making these conditions important to assess. Controlling indoor humidity below 50% can significantly reduce mold and dust mite proliferation.
If smoking occurs indoors, consider nicotine residue as a cause, especially if stains appear uniform or streaked. Also, evaluate water quality for iron or tannins that can leave yellow marks near faucets.
Poor ventilation and high humidity often worsen these problems.
- Look for peeling paint and discoloration near leaks
- Detect musty smells or dampness signaling mold
- Identify uniform streaks linked to nicotine residue
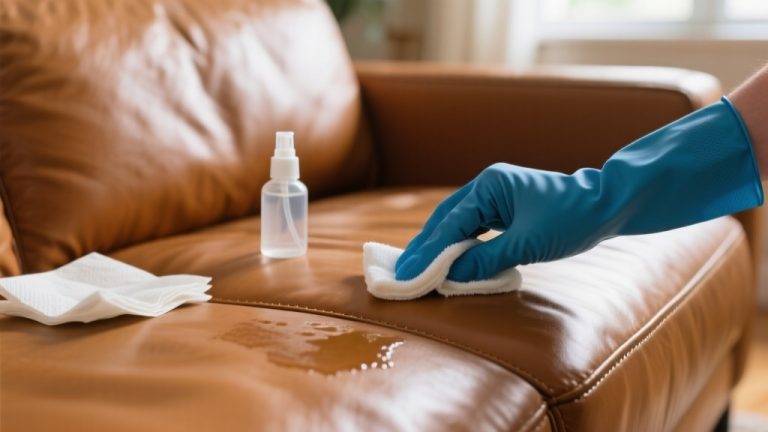
Effective Cleaning Solutions for Yellow Stains
Since yellow stains on bathroom walls vary in origin, choosing the right cleaning solution is essential for effective removal.
For general dirt, body oils, and soap scum, baking soda mixes well with hydrogen peroxide or vinegar to gently break down stains without damaging surfaces. Using a multi-purpose cleaning brush can help reach corners and textured surfaces for a thorough clean.
If mildew or mold causes yellowing, diluted bleach works well but requires caution due to fumes and chemical risks. It is important to wear gloves and ensure proper ventilation when using such chemicals.
For mineral or rust deposits, acidic natural remedies like lemon juice with salt or white vinegar dissolve buildup safely.
Commercial cleaners with enzymes or oxidizers target stubborn organic stains, but check compatibility with your wall material.
Regular use of mild baking soda or vinegar solutions helps prevent stain buildup, supporting long-term cleanliness and maintaining your bathroom walls’ appearance.
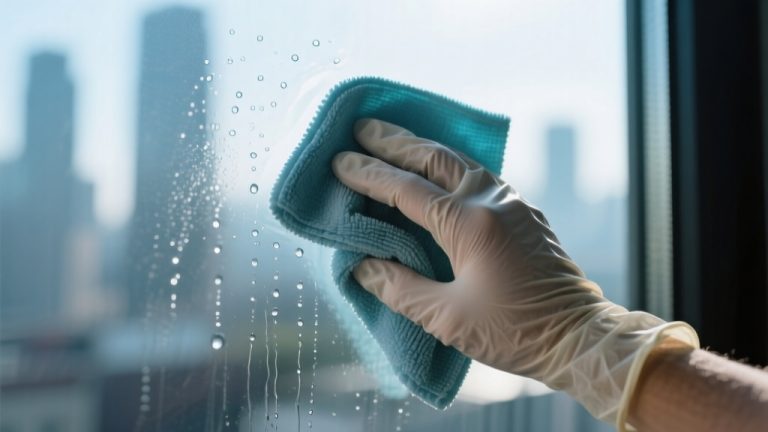
Step-by-Step Cleaning Techniques and Safety Tips
Hey there! Before you dive into cleaning, it’s super important to gear up for safety. So, make sure to put on some protective gloves and eye protection. You really want to keep yourself safe while working with those cleaning agents, right? Also, be sure to avoid mixing chemicals like bleach and vinegar to prevent the release of toxic fumes.
Once you’re all set, grab your favorite cleaning solution and apply it evenly on those pesky yellow drips. Let it sit for a bit, following the directions on the label. This will help break down those stubborn stains effectively.
Now, for the scrubbing part! Use a soft brush or a sponge to gently scrub the area. Just a heads up—try to avoid using harsh tools, as they could end up damaging your wall surface. Happy cleaning!
Applying Cleaning Solutions
When you apply cleaning solutions to yellow drips on bathroom walls, you’ll want to target the stains directly for the best results.
Start by testing your chosen solution, like vinegar or diluted bleach, on a small hidden spot to avoid damage. It is important to avoid using harsh synthetic surfactants on surfaces as they may cause damage or leave residues.
Spray or apply the cleaner evenly on the stain and let it sit for 5 to 30 minutes, depending on the product.
Then, gently scrub with a soft brush or cloth to loosen grime without harming the surface. Using gentle cleansers like diluted dish soap can also help remove grime effectively without damaging surfaces.
Rinse thoroughly with water and dry completely to prevent new stains.
Keep these tips in mind:
Avoid mixing cleaners to prevent toxic fumes.
Use gloves to protect your skin.
Ventilate the area well during cleaning.
Protective Measures During Cleaning
After applying cleaning solutions to the yellow drips, focus on protecting yourself and your surroundings during the process.
Wear nitrile gloves, safety goggles, and a mask if fumes are strong. Open windows and use fans for ventilation. It is important to use only products with an EPA registration number to ensure effective germ killing and safety. Choose eco-friendly cleaners to minimize indoor air pollution and avoid harsh chemical exposure.
Remove items from the area and cover floors to catch drips.
Never mix chemicals like bleach with ammonia.
Use appropriate tools, avoid spraying solutions directly on electrical outlets, and rinse tools regularly.
After cleaning, rinse walls thoroughly and dry immediately to prevent damage and mold.
Preventative Measures to Avoid Future Staining
To keep those pesky yellow drips from coming back, one of the first things you can do is boost the ventilation in your bathroom. This helps cut down on moisture that can lead to stains. Proper airflow conditions are essential to effectively reduce humidity and prevent moisture buildup.
And hey, make it a routine to clean the walls regularly, especially in those spots that tend to get stained more easily. Using a microfiber cloth is especially effective for wiping down surfaces gently and thoroughly. It’s a small effort that can make a big difference!
Also, don’t forget to check your plumbing for any leaks. If you find something, be sure to fix it right away to prevent any water damage behind the walls.
Improve Bathroom Ventilation
Although yellow drips on bathroom walls can be cleaned, preventing their return requires improving ventilation to control moisture effectively.
Start by assessing your exhaust fan’s capacity: ensure it meets the minimum 20 CFM or 1 CFM per square foot of your bathroom.
Proper fan placement near showers maximizes moisture removal and reduces the risk of mold growth by maintaining air circulation.
Next, verify your ducting is smooth, rigid, and vents outdoors to avoid condensation buildup.
Additionally, maintaining clean and unobstructed fans and ducts is essential to ensure optimal airflow and prevent moisture accumulation.
Finally, incorporate natural ventilation by opening windows during and after showers to reduce humidity levels.
Upgrade to energy-efficient fans with humidity sensors for automated control. Use backdraft dampers in ducts to prevent outside air infiltration.
Balance exhaust with fresh make-up air to maintain indoor pressure. Improving ventilation reduces moisture, stopping yellow stains before they form.
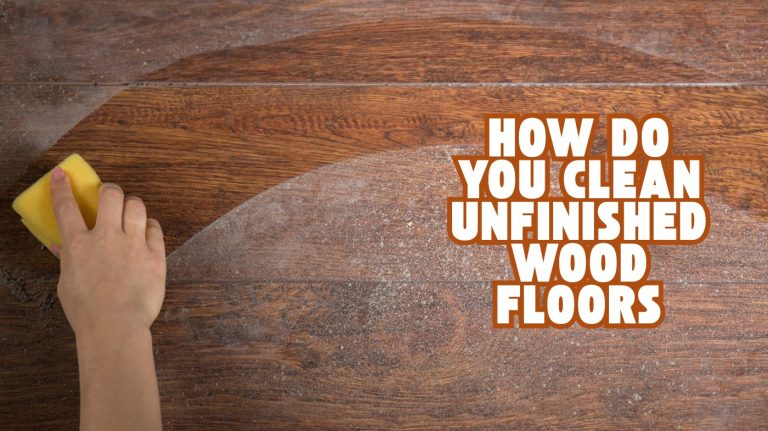
Regular Wall Cleaning
Controlling moisture through ventilation helps prevent yellow drips. Maintaining clean bathroom walls is equally important to stop stains from forming.
Regularly dust walls using a microfiber cloth or vacuum with a soft brush to remove dirt buildup. After showers, wipe walls with a mild soap and warm water solution to reduce moisture and grime. It is best to clean painted walls at least once annually to maintain their appearance and prevent permanent staining. Following a regular cleaning schedule can help prevent buildup and discoloration.
Always test new cleaners on a small area first to avoid damage. Clean fixtures and nearby surfaces with distilled white vinegar to dissolve mineral deposits that might drip.
Use a squeegee on shower walls and glass after use to minimize water spots. Address early mold or mildew with a diluted bleach solution, wearing gloves and eye protection.
Dry walls thoroughly afterward to prevent regrowth. Establish a cleaning schedule and use non-abrasive tools to maintain stain-free walls.
Plumbing Leak Repairs
How can you stop yellow drips from forming on your bathroom walls before they start?
Addressing plumbing leaks early is key. Regularly inspect pipes, joints, and fixtures for moisture or corrosion.
Use quality, corrosion-resistant materials and ensure all connections are sealed tightly. Regulate water pressure to avoid stress on pipes that can lead to leaks.
Focus on these preventative measures: Conduct routine visual inspections and use moisture meters or dye tests to catch leaks early.
Install pressure regulators and maintain water pressure between 40-80 psi to prevent pipe damage.
Insulate exposed pipes to avoid freezing cracks and maintain consistent indoor temperatures. Additionally, installing waterproof membranes beneath wet areas can prevent water seepage that causes stains.
Specialized Treatments for Persistent or Severe Stains
When yellow stains on bathroom walls resist basic cleaning, specialized treatments become necessary to restore their appearance.
Start by applying a paste of hydrogen peroxide and baking soda (1:2 ratio) to break down stubborn organic stains; leave it for 30 minutes before scrubbing.
For eco-friendly options, spray white vinegar, then sprinkle baking soda to fizz and lift residues. Using natural acids like vinegar can also help neutralize mineral deposits that contribute to staining.
Use commercial bathroom cleaners for mildew or hard water stains, following instructions carefully.
To reach grout or textured surfaces, scrub with a baking soda mix or Castile soap solution using a soft brush. Ensuring the use of high-quality sealants after cleaning can help prevent future staining.
Always test treatments on an inconspicuous spot to avoid damage. After chemical application, rinse thoroughly and dry walls fully to prevent recurrence. Proper drying helps inhibit mold growth and prevents moisture-related stains.
For persistent mold, consider antifungal sprays or diluted bleach cautiously, and improve ventilation to inhibit future growth.
Frequently Asked Questions
Can Yellow Drips Damage Bathroom Wall Paint Permanently?
Yes, yellow drips can permanently damage your bathroom wall paint if you don’t address them promptly.
The mineral deposits penetrate paint layers, causing discoloration and weakening adhesion.
Over time, moisture linked to these drips further degrades paint, leading to peeling or staining that repainting alone won’t fix.
To protect your walls, you need to clean, dry, and seal the area with an oil-based primer before repainting to prevent lasting damage.
Are Yellow Drips Harmful to Health or Respiratory Systems?
You know what they say, “Better safe than sorry.”
Yes, yellow drips, often mold, can harm your respiratory system. They may trigger coughing, sneezing, or worsen asthma, especially if you’re sensitive or have lung issues.
Prolonged exposure can lead to infections or allergic reactions. So, don’t ignore them; address mold promptly to protect your health and keep your breathing clear.
Your lungs will thank you for it.
How Long Does It Take for Yellow Stains to Appear After Water Damage?
Yellow stains usually appear days to weeks after water damage, depending on moisture levels and ventilation.
At first, you’ll notice dark, damp patches or bubbling paint.
The yellow discoloration forms as water-reactive compounds oxidize within wall materials once moisture partially dries but remains trapped.
If you don’t fix leaks or dry the area promptly, stains worsen, often signaling prolonged water exposure and potential mold growth beneath the surface.
Can Bathroom Wallpaper Be Cleaned of Yellow Drips Without Removal?
Yes, you can clean bathroom wallpaper yellow drips without removal.
First, stop moisture sources causing the stains. Gently blot the area with a dry cloth to absorb moisture, avoiding rubbing.
Use diluted cleaning solutions like mild vinegar or wallpaper paste remover carefully, testing a hidden spot first. Avoid soaking the wallpaper to prevent damage.
Employ humidifiers to dry walls thoroughly afterward, and consider professional help for delicate or extensive stains to preserve your wallpaper.
Is It Safe to Use Bleach on Yellow Drips in Bathrooms?
Yes, you can use bleach on yellow drips in bathrooms, but you need to be cautious.
Always dilute bleach properly, wear gloves, and ensure good ventilation.
Avoid mixing it with acidic cleaners to prevent toxic fumes.
Test a small area first to check for damage or discoloration.
Don’t overuse bleach to protect surfaces and your health.
If your walls have delicate paint or wallpaper, consider safer alternatives instead.
Keep Yellow Drips Away with Regular Cleaning and Care
Imagine your bathroom walls gleaming like fresh snow, free from stubborn yellow drips. By identifying the source and using the right cleaning solutions, you can restore that crisp, clean look quickly and safely.
Follow step-by-step cleaning and preventative tips to keep your walls spotless and prevent future stains.
With consistent care and occasional specialized treatments, your bathroom will stay bright and inviting, turning away any yellow blemishes before they settle in.