Best Way to Clean Window Sills: Easy Deep Cleaning Guide
To clean window sills effectively, first clear away plants and debris. Then vacuum with a brush attachment to remove dust from corners.
Use a mild dish soap solution or diluted vinegar to spray the sill, letting it sit for 10–15 minutes.
Scrub with an old toothbrush, wipe with a damp microfiber cloth, then dry thoroughly to prevent moisture damage.
Address mold with vinegar and avoid bleach on delicate surfaces. Keep going to learn thorough steps and expert tips.
Key Takeaways
- Remove plants, decorations, and loose debris to ensure full access to the window sill before cleaning.
- Use a vacuum with a brush and crevice tool to eliminate dust, dirt, and insects from corners and grooves.
- Apply a suitable cleaning solution, such as soapy water or diluted vinegar, and let it sit for 10-15 minutes to loosen grime.
- Scrub corners and crevices with a soft toothbrush, then wipe flat surfaces with a damp microfiber cloth.
- Rinse thoroughly, dry completely with a microfiber cloth, and ensure proper ventilation to prevent moisture buildup and mold growth.
Overview of Window Sill Cleaning Process
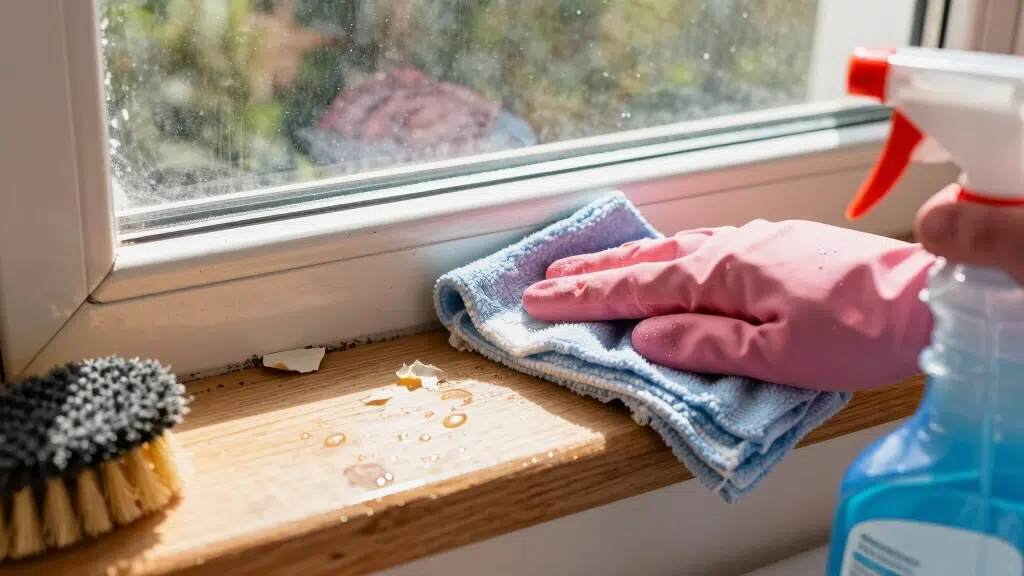
To clean your window sills effectively, start by clearing away any objects and debris to guarantee full access.
Remove plants, decorations, and any loose dirt or dead insects. Next, use a vacuum with a brush attachment to eliminate dust, pollen, and grime from corners and crevices.
Don’t overlook the weep holes; clear them to assure proper drainage. After debris removal, open the window fully to expose the sill for thorough cleaning.
This preparation prevents obstruction and enhances efficiency. Once the surface is accessible and free from loose particles, you’re ready to apply cleaning solutions and scrub away remaining dirt.
Following these steps methodically assures a deeper clean and prevents buildup that could lead to mold or damage.
Be sure to thoroughly dry the window sills with a microfiber cloth to prevent moisture buildup and protect against long-term damage.
Gather Tools for Cleaning Window Sills
Before you plunge into cleaning your window sills, gather all the essential tools to streamline the process and avoid interruptions.
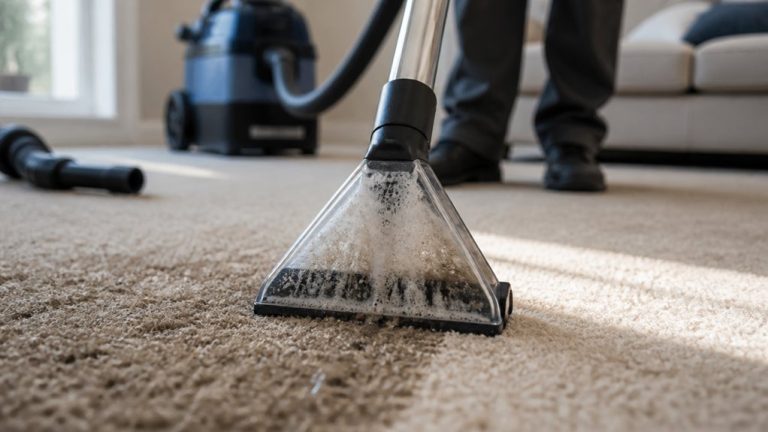
Start with a vacuum cleaner equipped with a brush attachment and crevice tool to remove loose dust, pollen, and dead insects efficiently.
Begin by vacuuming with a brush and crevice tool to swiftly clear dust, pollen, and debris.
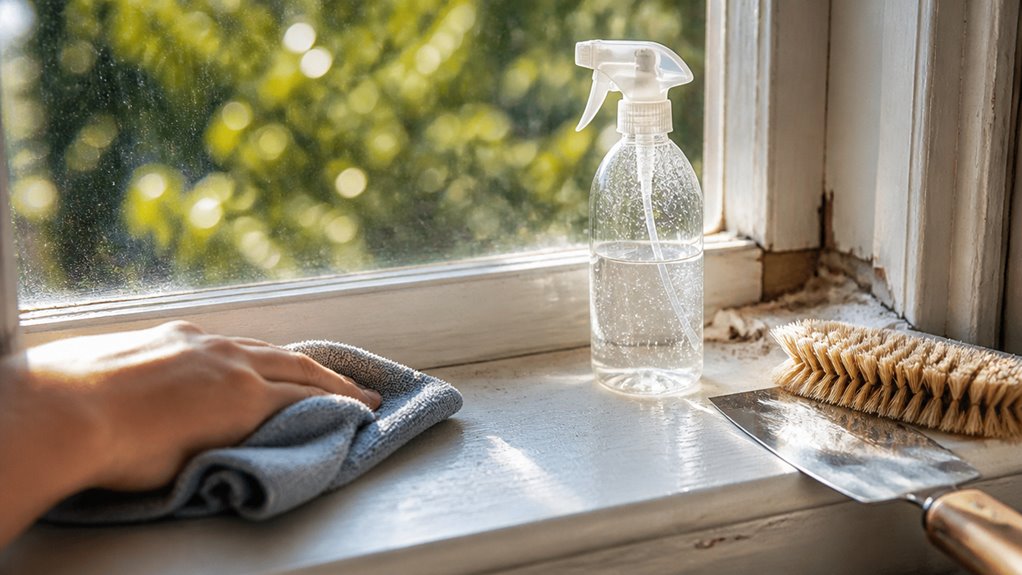
Have a microfiber cloth on hand for wiping surfaces and a soft-bristled old toothbrush for scrubbing tight corners and crevices.
A damp sponge will help with applying cleaning mixtures and wiping away grime.
Keep paper towels nearby for drying and quick spot cleaning.
For hard-to-reach areas, wrap a microfiber cloth around a butter knife or use a specialized microfiber tool.
Organizing these tools before you start guarantees a smooth, thorough cleaning, letting you maintain your window sills with precision and ease.
Use high-quality microfiber cloths to avoid lint and achieve a streak-free clean.
Choosing Cleaning Solutions for Window Sill Dirt
Select cleaning solutions that effectively tackle the specific dirt and grime on your window sills while safeguarding the surface material.
For general dirt, a mixture of warm water and a few drops of dish soap works well.
If mold or mildew is present, use diluted white vinegar in equal parts with water to eliminate spores safely.
For tougher grime, baking soda combined with vinegar creates a foaming action that loosens buildup.
Avoid harsh chemicals on delicate surfaces; instead, try borax and vinegar for a deep clean without bleaching.
Bleach solutions are strong but should be diluted properly: one-third cup bleach per gallon of water to prevent damage.
Always choose solutions based on your sill’s material and dirt type to guarantee effective cleaning without harm.
To boost cleaning effectiveness and help eliminate spores, consider using oxygen-based cleaners such as hydrogen peroxide or baking soda.
Step-by-Step Cleaning and Scrubbing Techniques
Start by liberally spraying your chosen cleaning solution onto the window sill, guaranteeing even coverage without oversaturating the area.
Let it sit for 10 to 15 minutes to break down dirt and grime.
Allow the solution to sit for 10 to 15 minutes to effectively loosen dirt and grime.
Next, take an old toothbrush or a small scrub brush to gently scrub the entire surface, focusing on corners, grooves, and vertical tracks.
Use firm, circular motions to dislodge stubborn debris without damaging the sill.
For flat areas, a damp microfiber cloth works well to wipe away loosened dirt.
If you encounter tough smudges, apply additional solution and scrub carefully.
After scrubbing, inspect the sill for missed spots and repeat if necessary.
This methodical approach guarantees a thorough clean without risking damage to your window sill’s finish.
Regular maintenance using microfiber cloths helps prevent buildup and keeps surfaces spotless longer.
Rinsing, Drying, and Safe Mold Removal Tips
Once you’ve scrubbed the window sill, rinse off all cleaning residues thoroughly with a damp microfiber cloth soaked in plain water. Ensure no soap or solution remains to attract dirt or cause damage.
Follow by wiping with a dry microfiber cloth to remove moisture completely, preventing water damage or mold growth. Open windows or use a fan to promote air circulation, speeding up drying.
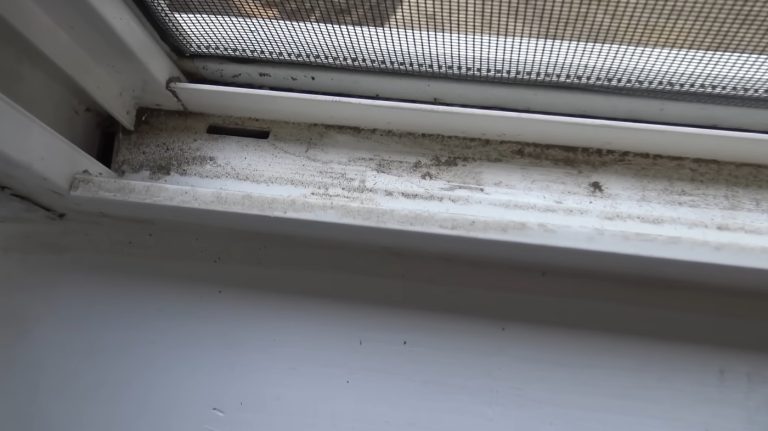
For mold removal, spray white vinegar directly on affected areas and let it sit for 10 minutes to kill spores. Gently scrub with a toothbrush, then wipe clean with a damp cloth.
Avoid bleach on delicate surfaces; vinegar offers a safer alternative. Always dry the sill thoroughly after mold treatment to prevent regrowth and maintain a clean, healthy window area.
Improving ventilation during and after cleaning helps reduce moisture buildup and prevents mold from returning.
Frequently Asked Questions
How Often Should I Clean My Window Sills to Prevent Mold?
You should clean your window sills at least once a month to prevent mold buildup.
If you notice moisture or condensation, clean them more frequently, ideally weekly.
Regular wiping with a vinegar-water solution helps kill spores and stops mold growth.
Always dry the sill completely afterward to avoid moisture retention.
Consistent cleaning combined with good airflow markedly reduces mold risks and keeps your window sills fresh and healthy.
Can Window Sill Cleaning Damage Paint or Wood Finishes?
Like walking on eggshells, cleaning window sills can damage paint or wood finishes if you’re not careful.
You should avoid harsh chemicals and abrasive tools that strip or scratch surfaces.
Use gentle mixtures like diluted dish soap or vinegar, and soft brushes or microfiber cloths.
Always rinse and dry thoroughly to prevent moisture damage.
With careful technique, you protect your finishes while keeping sills spotless and mold-free.
What Precautions Should I Take When Using Bleach Near Windows?
When using bleach near windows, you should wear gloves and guarantee good ventilation by opening windows or using a fan.
Dilute bleach properly, about 1/3 cup per gallon of water, to avoid damaging surfaces.
Avoid oversaturating the area to protect paint and wood finishes.
Never mix bleach with other cleaners, especially ammonia or vinegar, to prevent toxic fumes.
Rinse thoroughly and dry the area completely to prevent residue and damage.
Are There Eco-Friendly Alternatives to Vinegar and Bleach for Cleaning?
You’d think cleaning without vinegar or bleach is impossible, but luckily, it’s not!
You can use baking soda mixed with water to make a gentle, effective paste that tackles grime without harsh chemicals.
Castile soap diluted in warm water also works wonders for cleaning.
For mold, tea tree oil diluted in water kills spores naturally.
These eco-friendly options keep your surfaces clean and the planet happy without sacrificing power or safety.
How Do I Maintain Window Sill Cleanliness Between Deep Cleanings?
You should wipe your window sills weekly using a damp microfiber cloth to remove dust and pollen.
Keep the area free of decor and plants to avoid debris buildup.
Lightly vacuum with a brush attachment to catch dirt in crevices.
After wiping, dry the sill thoroughly to prevent moisture accumulation and mold growth.
Regular airflow by opening windows helps keep sills dry and fresh between deep cleanings.
Simple Steps for Fresh and Spotless Window Sills
Remember, “a stitch in time saves nine.” By regularly cleaning your window sills with the right tools and solutions, you prevent dirt buildup and mold growth.
Follow each step carefully, from scrubbing to rinsing and drying, to keep your home fresh and safe. Taking timely action not only preserves your window sills but also enhances your living space’s overall cleanliness and comfort.
Stay consistent, and you’ll enjoy lasting results.