Best Way to Clean Weber Grill Grates
The best way to clean your Weber grill grates starts by preheating them to 500–550°F for 10–15 minutes to burn off food residue.
Use a Weber-approved stainless steel brush or plastic scraper to remove carbon buildup without damaging enamel surfaces.
Avoid oiling grates; lightly oil your food instead to reduce sticking.
Regular brushing after each use prevents tough buildup and extends grate life.
For a deeper clean and care tips, keep exploring how to maintain your grill thoroughly.
Key Takeaways
- Preheat Weber grill grates to 500–550°F for 10–15 minutes to carbonize and loosen residue before cleaning.
- Use Weber-approved stainless steel or T-Brushes to scrub grates, avoiding brushes with loose bristles.
- For porcelain-enameled cast iron grates, avoid oiling grates; instead, lightly oil the food to reduce sticking.
- Use a plastic Weber scraper to safely remove stubborn carbon buildup without damaging enamel surfaces.
- Perform routine brushing after each use and deep clean grates by soaking and scrubbing when necessary.
Caring for Different Weber Grill Grates

When caring for different Weber grill grates, you need to tailor your cleaning approach to the material to maintain their performance and longevity.
For porcelain-enameled cast iron grates, always preheat and brush using a stainless steel brush to avoid damaging the enamel. Don’t oil the grates; instead, oil your food to reduce sticking.
With stainless steel grates, use Weber-approved stainless steel brushes to clean thoroughly. This ensures you remove all carbonized residue without scratching.
Before grilling, wipe off excess marinade to prevent flare-ups. Apply BBQ sauce only during the last 5-10 minutes to avoid sticky buildup.
Regularly inspect brushes for loose bristles and replace them annually to protect your grates. This material-specific care keeps your grill performing at its best while extending its lifespan.
To prevent buildup and maintain smooth operation, it is also important to perform regular maintenance on your grill grates after each use.
Preheating Weber Grill Grates
Before you dive into cooking, let’s make sure your Weber grill grates are preheated to that sweet spot of 500-550°F. Why? Well, this high heat works wonders by carbonizing any leftover food residue. It makes brushing it off a breeze and gives you a cleaner cooking surface.
Plus, preheating isn’t just about cleanliness. It really boosts your grilling results, too! By heating things up first, you’ll find that food sticks less, making your grilling experience even better. So, let’s get those grates nice and hot before you start cooking!
For best results, always clean your grill grates with a nylon brush after preheating to remove debris without damaging the surface, which ensures a scratch-free scrubbing every time.
Optimal Preheat Temperature
Achieve the best grilling results by preheating your Weber grill grates to an ideal temperature range of 500-550°F. This temperature range effectively carbonizes food residue, making it easier for you to scrub away buildup with a stainless steel brush.
Preheating at this level guarantees the grates reach a consistent, high heat that loosens stuck-on grease without damaging the grate surface. Use your grill’s built-in thermometer or an external grill thermometer to monitor and maintain this prime heat.
Avoid overheating beyond 550°F to prevent enamel damage or warping. Maintain this temperature for 10-15 minutes before cleaning or cooking to guarantee thorough residue breakdown.
This precise approach to preheating sets the foundation for efficient cleaning and enhances grill longevity. For best results, always perform cleaning in shaded, cool conditions to prevent streaks and preserve surface coatings.
Preheating Benefits
Since preheating your Weber grill grates to 500-550°F carbonizes leftover food residue and grease, you’ll find it much easier to remove buildup with a stainless steel brush.
This high heat loosens stuck-on particles, turning stubborn grime into brittle ash that brushes away effortlessly.
Preheating also sanitizes the grates by burning off bacteria, ensuring a cleaner cooking surface every time.
When you preheat, you’ll notice:
- Enhanced effectiveness of your grill brush, reducing scrubbing time
- Prevention of residue buildup, extending the lifespan of your grates
- Improved flavor by eliminating old food remnants before cooking
For deeper sanitation, cleaning with an EPA-registered disinfectant after preheating can help eliminate stubborn pathogens.
Routine Brushing of Weber Grill Grates
Regularly brushing your Weber grill grates is essential for maintaining peak cooking performance and preventing stubborn buildup.
Before each use, preheat the grill to 500-550°F to carbonize food residue. This makes it easier to brush off.
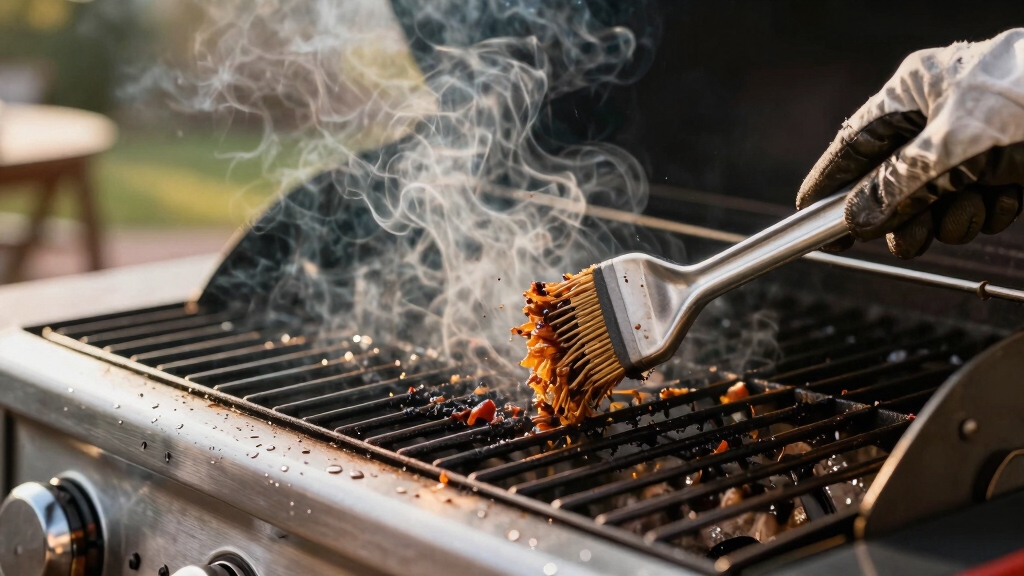
Use a stainless steel bristle brush to thoroughly clean the grates, focusing on both the top and edges to avoid leftover debris.
| Step | Tool | Tip |
|---|---|---|
| Preheat grill | Built-in thermometer | Reach 500-550°F |
| Brush grates | Stainless steel brush | Remove carbonized residue |
| Clean edges | T-Brush | Avoid missed spots |
| Inspect brush | Visual check | Prevent loose bristles |
Consistent routine brushing keeps your grill ready and extends grate life without requiring deep cleaning. Proper maintenance and cleaning techniques help prevent residue buildup that can affect cooking quality.
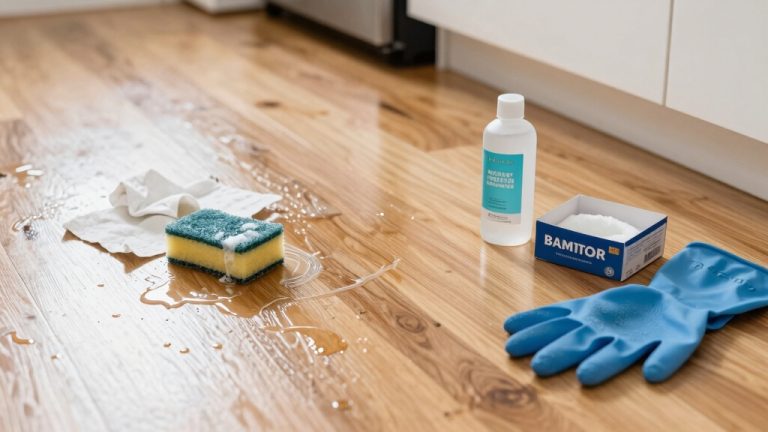
Deep Clean Weber Grill Grates
While routine brushing keeps your Weber grill grates in good shape, occasional deep cleaning is necessary to tackle stubborn grease and carbon buildup.
First, make certain the grill and grates are completely cool before removing them for thorough access. Soak the grates in a solution of Bar Keeper’s Friend and warm water for about 30 minutes to loosen grime.
Ensure grill and grates are cool, then soak grates in Bar Keeper’s Friend and warm water for 30 minutes.
Then, scrub them on a hard surface with a heavy-duty wire brush to remove buildup. After scrubbing, wash grates with warm, soapy water using a rag to wipe away residue.
For best results, finish with a mild stainless steel cleaner to restore shine and prevent corrosion.
Using a deep-cleaning tool with powerful suction can help remove embedded grease and residues more effectively.
Choosing the Right Tools for Weber Grill Grates
When you want to keep your Weber grill grates spotless and undamaged, choosing the right tools is essential.
Use a Weber T-Brush or a stainless steel grill brush to remove carbonized grease effectively without scratching the grates.
For stubborn, built-up carbon, a plastic Weber scraper safely loosens debris without harming enamel surfaces.
Avoid sharp-edged tools that can chip or damage your grates.
A fine scouring pad works well for warming racks, providing gentle yet thorough cleaning.
Always test brushes for loose bristles before use to prevent contamination.
Opt for tools specifically designed for Weber grills to guarantee compatibility and longevity.
Selecting these precise tools helps maintain your grill’s performance and extends the life of your grates with every clean.
Additionally, regularly maintaining the grates with gentle scrubbing techniques helps preserve their surface and prevents damage over time.
Maintaining Weber Grill Grates to Prevent Build-Up
To keep your Weber grill grates free from stubborn buildup, make daily brushing a must. Seriously, invest in a good quality stainless steel brush. It really makes a difference!
Before you start cooking, preheat your grill to high temperatures. This helps carbonize any residue, making cleaning a breeze later on. And here’s a tip: apply oil to your food instead of the grates. This way, you prevent sticking without adding to the buildup. For best results, consider using tools with ergonomic handles to reduce fatigue while cleaning.
Daily Brushing Routine
Consistently brushing your Weber grill grates before and after each cook prevents stubborn buildup and extends their lifespan.
This daily brushing routine guarantees carbonized food residue doesn’t accumulate, making each cleaning quicker and more effective.
Start by preheating your grill to 500-550°F to loosen debris.
Then use a stainless steel bristle brush to scrub thoroughly.
Focus on these key steps:
Brush all grate surfaces, including the bottoms during deep cleaning.
Check your brush for loose bristles to avoid contamination.
Replace the grill brush annually to maintain efficiency.
Ensure thorough drying after cleaning to protect your grill and avoid moisture buildup.
Proper Oil Application
Maintaining clean grill grates goes beyond brushing. Applying oil correctly plays a key role in preventing food from sticking and reducing residue buildup.
You want to lightly oil the food, not the grates, to avoid excess residue that attracts grime. Use a high smoke point oil like avocado or grapeseed. Apply it with a folded paper towel held by tongs for even coverage.
| Step | Tip | Why It Matters |
|---|---|---|
| Choose oil | High smoke point preferred | Prevents burning and smoke |
| Apply lightly | Use towel + tongs | Avoids pooling and buildup |
| Oil food, not grates | Brush food before grilling | Minimizes residue on grates |
Proper oil application keeps your Weber grill grates cleaner longer and enhances food release. For best results, ensure proper ventilation during grilling and cleaning to reduce exposure to fumes and maintain safety when applying oils or cleaning solutions, as recommended in cleaning safety guidelines.
Regular Grill Preheating
Firing up your grill and letting it preheat to 500-550°F before each use is essential for preventing residue buildup on your Weber grill grates. This high heat carbonizes leftover food particles, making them easier to remove and reducing sticky residue.
To maintain your grates effectively, follow these steps: Preheat for 10-15 minutes to burn off debris and grease. Use a stainless steel bristle brush immediately after preheating to scrub charred residue. Flip grates periodically during deep cleans to access and clean the undersides.
This routine not only extends your grill’s lifespan but also guarantees better-tasting food by preventing old buildup from affecting flavor. Incorporate this simple preheating habit every time to keep your Weber grill grates in peak condition.
Cleaning and Protecting Other Weber Grill Parts
While cleaning grill grates is essential, you shouldn’t overlook other parts of your Weber grill that require regular attention to guarantee peak performance and longevity.
Start by brushing the inside lid with a stainless steel brush to remove carbon buildup. Flavorizer bars and heat deflectors collect grease and debris, so clean them regularly with warm, soapy water to prevent flare-ups.
Wipe down the exterior with a damp cloth and mild detergent to protect enamel finishes. Use Weber-specific cleaners to maintain stainless steel surfaces without damage.
Don’t forget to cover your grill when not in use to shield it from weather. Routine care of these components not only keeps your grill safe and efficient but also extends its lifespan, ensuring every cookout runs smoothly.
Frequently Asked Questions
Can I Use Household Cleaners Instead of Weber-Specific Products?
You can use household cleaners like Dawn dish soap and Bar Keeper’s Friend for deep cleaning Weber grill grates, as they effectively break down grease and residue.
However, avoid harsh chemicals or abrasive tools that might damage enamel or stainless steel surfaces.
For routine maintenance, stick to Weber-approved brushes and mild soap to preserve your grill’s finish.
Using specific Weber products guarantees safe, thorough cleaning and prolongs your grill’s lifespan.
How Often Should I Replace My Weber Grill Grates?
You’d be surprised how often grill grates can outlast your expectations!
Typically, you should replace your Weber grill grates every 3 to 5 years, depending on usage and maintenance.
If you notice rust, warped bars, or persistent residue buildup despite cleaning, it’s time.
Keep up with routine brushing and deep cleans, and check grates annually.
Proper care extends lifespan, but don’t hesitate to swap them out when performance drops.
Is It Safe to Clean Grill Grates in a Dishwasher?
No, you shouldn’t clean your grill grates in a dishwasher. The high heat and harsh detergents can damage the grate’s finish, especially if they’re porcelain-enameled or stainless steel.
Instead, preheat the grill, then brush off residue with a stainless steel brush. For deep cleaning, soak grates in warm water with Bar Keeper’s Friend and scrub manually.
This approach keeps your grates safe, extends their life, and maintains cooking performance.
What’s the Best Method to Remove Rust From Weber Grill Grates?
Imagine rust on your grill grates like stubborn barnacles on a boat hull. You need consistent scrubbing to sail smoothly.
To remove rust from Weber grill grates, soak them in warm water mixed with Bar Keeper’s Friend for 30 minutes. Then scrub vigorously with a heavy-duty wire brush on a hard surface.
Rinse, dry thoroughly, and apply a thin coat of cooking oil to prevent future rust buildup. Repeat as needed for lasting protection.
Can I Use a Wire Brush on Porcelain-Enameled Grates Without Damage?
You should avoid using a heavy-duty wire brush on porcelain-enameled grates since it can chip or damage the enamel coating.
Instead, preheat the grates to carbonize residue, then use a stainless steel brush designed for porcelain surfaces, like Weber’s T-Brush, to gently clean them.
Be careful not to scrape aggressively and never use sharp-edged tools.
Regular brushing after each cook helps prevent buildup and preserves your grates’ finish.
Keep Your Weber Grill Grates Clean for Better BBQ Results
By regularly preheating and brushing your Weber grill grates, you’ll keep them in top shape and avoid tough buildup.
Imagine hosting summer barbecues without the stress of scrubbing stubborn residue. Just clean, perfectly cooked meals every time.
Using the right tools and deep cleaning occasionally ensures your grill lasts for years.
Consistent care not only protects your investment but also guarantees delicious results. This makes every cookout a satisfying experience you’ll look forward to.