Best Way to Clean Bathroom Floor: Fast & Effective Methods
Start by clearing your bathroom floor of personal items, dust, and loose dirt using a vacuum or soft broom.
Choose a pH-neutral or mild cleaner specific to your floor type to avoid damage.
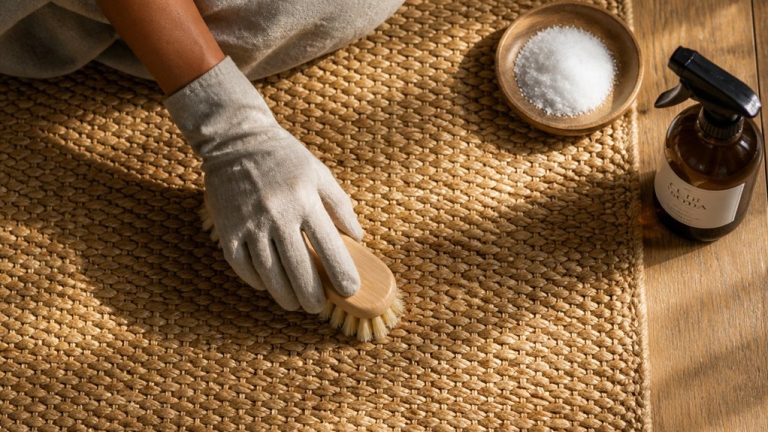
For tile and grout, use gentle scrubbing with baking soda paste for stains, avoiding harsh chemicals on natural stone.
Mop with a well-wrung microfiber mop in small sections, rinse thoroughly, and dry promptly to prevent water damage and maintain shine.
Discover effective tips to keep your bathroom floor spotless and lasting longer.
Key Takeaways
- Clear the floor of personal items, rugs, and trash cans to enable thorough cleaning and prevent obstruction or damage.
- Use a soft broom or vacuum to remove dust and loose dirt, focusing on corners and baseboards before mopping.
- Select a pH-neutral or mild cleaner suitable for your floor type, avoiding harsh chemicals and excess water to protect finishes.
- Mop in small sections with a well-wrung microfiber mop, rinsing frequently and avoiding soaking to prevent water damage.
- Dry floors promptly with a microfiber cloth or towel to restore shine and prevent moisture-related issues like mold or warping.
Clear and Prepare Your Bathroom Floor for Cleaning

Before you start cleaning, clear your bathroom floor of all personal items, bath mats, and trash cans. This step guarantees you have full access to every corner and prevents items from getting wet or damaged.
Clear your bathroom floor first to access every corner and protect your belongings during cleaning.
Remove any rugs or mats, shaking them outside if needed to dislodge loose dirt. Take out trash cans and empty them to avoid spills during cleaning.
Check for any clutter like toiletries or laundry and relocate them temporarily. Clearing the floor sets the stage for a thorough cleaning and reduces the risk of missing spots.
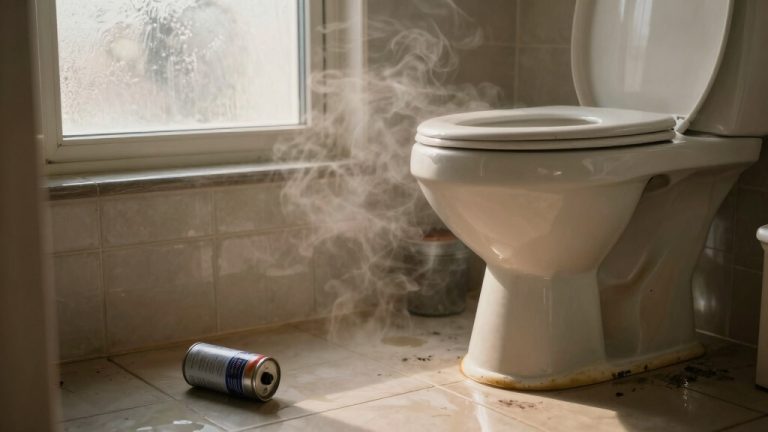
Once the floor is completely free, you’ll be ready to tackle any dirt or grime without obstruction, making your cleaning routine more efficient and effective. Ensure good ventilation during cleaning to reduce humidity and prevent mold growth.
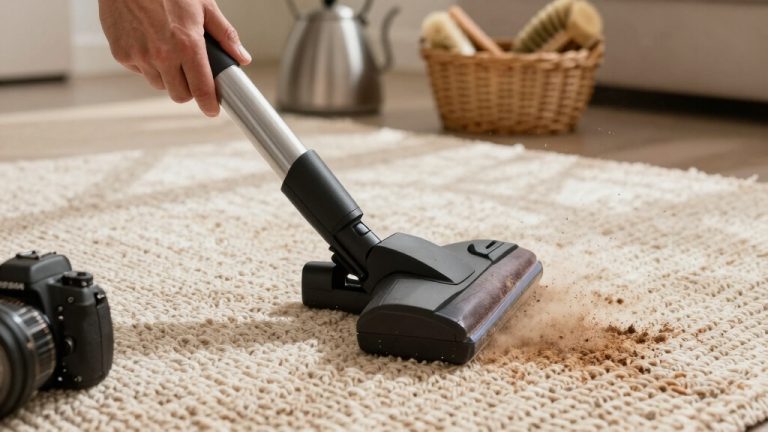
Remove Dust and Loose Dirt Before Mopping
With the floor cleared, your next step is to remove dust and loose dirt to guarantee effective mopping.
Begin by selecting the right tool: use a vacuum or soft-bristle broom on tile, vinyl, and laminate floors. Opt for a soft broom on natural stone to avoid scratches.
Move systematically, covering every corner and along baseboards to collect all debris. For thoroughness, a dry dust mop works well on smooth surfaces.
If available, a wet and dry vacuum can save time and enhance cleanliness by extracting fine dust and larger particles simultaneously.
Removing loose dirt prevents grime from spreading during mopping and protects your floor’s finish.
Aim to complete this step weekly to minimize buildup and maintain a cleaner bathroom floor with less effort overall.
For compact spaces like bathrooms, choosing a small wet and dry vacuum with a balanced motor and portability can provide powerful yet convenient cleanup.
Choose the Right Cleaner for Your Bathroom Floor Type
When it comes to cleaning your bathroom floor, picking the right cleaner is super important. You want to make sure it matches your floor’s material so you can protect its surface and keep it looking great.
If you’ve got natural stone floors like marble or granite, go for a pH-neutral cleaner. It’s gentle enough to avoid any damage while still getting the job done.
For tile, vinyl, or wood floors, stick with mild solutions. They’ll help you maintain the beauty of your floors without the risk of any harm.
And a quick tip: steer clear of harsh chemicals or too much water. These can lead to problems like discoloration, warping, or etching, which we definitely want to avoid!
Using residue-free formulas can also help maintain your floor’s natural shine and prevent dirt buildup.
Floor Material Considerations
Selecting the right cleaner for your bathroom floor depends heavily on the material you’re working with. For tile floors, mild tile cleaners paired with grout scrubbing brushes work best.
Vinyl and laminate floors require light all-purpose cleaners and gentle sponge mops to avoid damage.
When dealing with wood floors, use a damp microfiber mop with a wood-specific cleaner, steering clear of excess water.
Marble and granite need pH-neutral stone cleaners applied with soft cloths or microfiber mops to prevent etching.
Natural stone floors benefit from mild detergents specially formulated for stone, applied with soft mops.
Understanding these material-specific needs guarantees effective cleaning and protects your floor’s integrity, preventing premature wear or discoloration. Always match your cleaning approach to the floor’s composition for peak results. For wood floors, it is important to avoid steam mops as excess moisture and heat can cause warping and damage to the finish.
Safe Cleaning Solutions
Matching your cleaning solution to the specific floor type guarantees effective results without causing damage.
For tile floors, use a mild tile cleaner or a dish soap and warm water mix.
Ceramic tiles also respond well to a vinegar-water solution, but avoid vinegar on natural stone.
Vinyl and laminate floors need a gentle all-purpose cleaner with a damp mop; harsh chemicals or hot water can warp them.
Wood floors require a wood-specific cleaner applied with a damp microfiber mop, steering clear of excess water.
Marble, granite, and other natural stones demand pH-neutral stone cleaners to prevent etching.
Always dilute concentrated cleaners as directed and apply solutions lightly to avoid oversaturation.
Choosing the right cleaner preserves your floor’s integrity and guarantees a thorough, safe cleaning.
For natural stone floors, it is also important to select acid-free, biodegradable cleaners to maintain surface integrity and environmental safety.
Avoiding Surface Damage
Although many cleaning products promise sparkling results, using the wrong cleaner can quickly damage your bathroom floor.
First, identify your floor type: tile, vinyl, laminate, wood, or natural stone before selecting a cleaner.
For tile, use mild tile cleaners or a dish soap solution; avoid harsh acids that erode grout.
Vinyl and laminate respond best to light all-purpose cleaners without abrasive scrubbing or hot water.
Wood floors need a damp microfiber mop with a wood-specific cleaner to prevent warping.
Natural stone floors like marble or granite require pH-neutral stone cleaners; acidic or alkaline agents cause etching or dullness.
Always test new products in a small area.
Choosing the right cleaner preserves your floor’s finish, maintains durability, and prevents costly damage.
Regular maintenance with pH-neutral cleaners is essential to protect natural stone surfaces from damage.
How to Clean Tile and Grout in Your Bathroom?
Sure! Here’s a more conversational version of your text:
—
First things first, grab a mild tile cleaner and a mop. It’s best to work in small sections so you can cover everything evenly.
Once you’ve got that down, take a soft brush to tackle those pesky grout stains. If you’re dealing with some tough spots, a simple baking soda paste or a natural vinegar solution can work wonders.
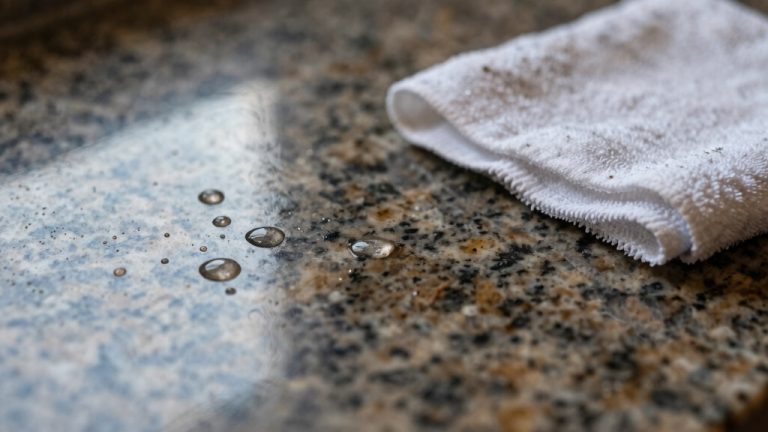
After you’ve scrubbed away, make sure to rinse everything thoroughly. You want to avoid any residue left behind, plus it helps keep your floor shining bright!
Don’t forget to dry the area well, too. A little extra care goes a long way!
For best results, regular routine maintenance like drying and using pH-balanced cleaners will help keep your bathroom floor in top shape.
Tile Cleaning Techniques
When you clean tile and grout in your bathroom, focusing on both surfaces guarantees a thorough result. Start by removing loose dirt with a vacuum or soft broom.
Next, mix a mild tile cleaner or a solution of dish soap and warm water in a spray bottle. Lightly mist small floor sections, then mop with a damp microfiber mop, wringing out excess liquid to avoid soaking.
For grout, apply a baking soda and water paste, let it sit briefly, then gently scrub with a soft brush. Rinse thoroughly to prevent residue buildup.
Use a second bucket for clean water to rinse the mop frequently. Finally, air dry or wipe with a microfiber cloth to prevent streaks and maintain your tile’s shine. For enhanced cleaning, consider using a machine that delivers high-temperature steam to effectively remove grime and sanitize tile surfaces.
Grout Stain Removal
Tackle grout stains by preparing a baking soda and water paste. Apply it directly to the affected areas and let it sit for several minutes to loosen grime.
Use a soft brush to scrub gently, breaking down dirt without damaging grout. After scrubbing, rinse thoroughly with clean water to remove residue and prevent haze.
| Step | Action |
|---|---|
| Prepare paste | Mix baking soda with water |
| Apply paste | Spread on stained grout |
| Scrub & rinse | Use soft brush, rinse well |
For tougher stains, repeat the process or try a baking soda and hydrogen peroxide mix. Always rinse well to avoid buildup and restore grout’s natural color.
For persistent mold and mildew, consider using a buffered-bleach technology cleaner designed to remove stains while protecting grout and surrounding materials.
Natural Cleaning Solutions
After addressing grout stains with a baking soda and water paste, you might want to explore natural cleaning solutions that protect your bathroom’s tile and grout without harsh chemicals.
Start by mixing equal parts white vinegar and warm water in a spray bottle for ceramic tiles, misting the floor lightly.
For everyday cleaning, combine one teaspoon of dish soap with warm water and apply with a damp microfiber mop.
Avoid soaking the floor; wring the mop well before use.
To tackle mold, apply a baking soda paste, let it sit for several minutes, then scrub gently with a soft brush.
Rinse thoroughly to prevent residue buildup.
Finish by air drying or wiping with a soft cloth to restore shine and maintain your floor’s natural beauty.
Using vinegar and dish soap solutions regularly can help break down soap scum and mineral deposits on bathroom surfaces.
How to Clean Vinyl and Laminate Bathroom Floors Without Damage?
Protect your vinyl and laminate bathroom floors by using gentle cleaning methods that avoid harsh scrubbing or excessive water.
Start by removing debris with a soft broom or dry mop. Use a light all-purpose cleaner diluted with water, applied with a damp sponge mop.
Avoid soaking the floor to prevent warping. Work in small sections, rinsing and wringing your mop frequently.
Finish by air drying or wiping with a microfiber cloth to avoid streaks.
| Step | Tool | Tip |
|---|---|---|
| Debris removal | Soft broom/mop | Remove dust before mopping |
| Cleaning | Sponge mop | Use diluted cleaner, damp mop |
| Drying | Microfiber cloth | Wipe dry to prevent streaks |
How to Protect Wood and Stone Floors When Cleaning?
To keep your wood and stone floors in great shape, it’s important to steer clear of using too much water. Excess moisture can really lead to warping or other kinds of damage, and we definitely want to avoid that!
When it comes to cleaning products, make sure you’re opting for pH-neutral cleaners that are specifically designed for wood and stone. This way, you can prevent any surface etching and keep your floors looking their best.
And remember, when you’re applying your cleaning solution, do it sparingly! A well-wrung microfiber mop is your best friend here—it helps maintain the integrity of your floors while still getting them nice and clean.
Avoid Excess Water
When cleaning wood and stone floors, you need to steer clear of excess water to prevent damage like warping, staining, or surface etching.
Use a damp, well-wrung microfiber mop or soft cloth rather than soaking the surface. Always wring out your mop thoroughly before applying it to the floor.
Clean in small sections to control moisture. Avoid puddles by applying cleaning solutions as a light mist instead of heavy sprays.
After mopping, dry the floor immediately with a soft towel to remove residual moisture, especially on wood and natural stone.
Use a second bucket for rinsing the mop to ensure you don’t spread dirty water.
Use pH-Neutral Cleaners
Although wood and stone floors add elegance to your bathroom, they require special care to avoid damage from harsh cleaners. You should always use pH-neutral cleaners to safeguard these surfaces from etching, discoloration, or deterioration.
These cleaners maintain the natural finish without stripping protective layers or causing surface damage. Apply them with a soft microfiber mop or cloth, avoiding excess moisture. Always rinse and dry floors thoroughly after cleaning to prevent residue buildup.
| Floor Type | Recommended Cleaner |
|---|---|
| Wood | pH-neutral wood cleaner |
| Marble/Granite | pH-neutral stone cleaner |
| Slate/Travertine | Mild detergent for stone |
| All natural stone | Avoid acidic or alkaline cleaners |
Using pH-neutral cleaners safeguards the longevity and beauty of your bathroom floors.
DIY Solutions for Stubborn Bathroom Floor Stains and Mold
Tackle stubborn bathroom floor stains and mold by combining common household ingredients for effective, gentle cleaning.
Mix baking soda with water to form a paste, then apply it directly to stains or moldy grout. Let it sit for several minutes to break down grime.
Gently scrub with a soft brush, focusing on grout lines and corners. For tougher spots, add three percent hydrogen peroxide to the baking soda paste to boost cleaning power without damaging tiles.
After scrubbing, rinse thoroughly with clean water to prevent residue buildup. Avoid harsh chemicals, especially on natural stone floors, to protect surfaces.
Repeat the process as needed, then let the floor air dry completely. This method keeps your bathroom floor fresh and your grout mold-free without expensive cleaners.
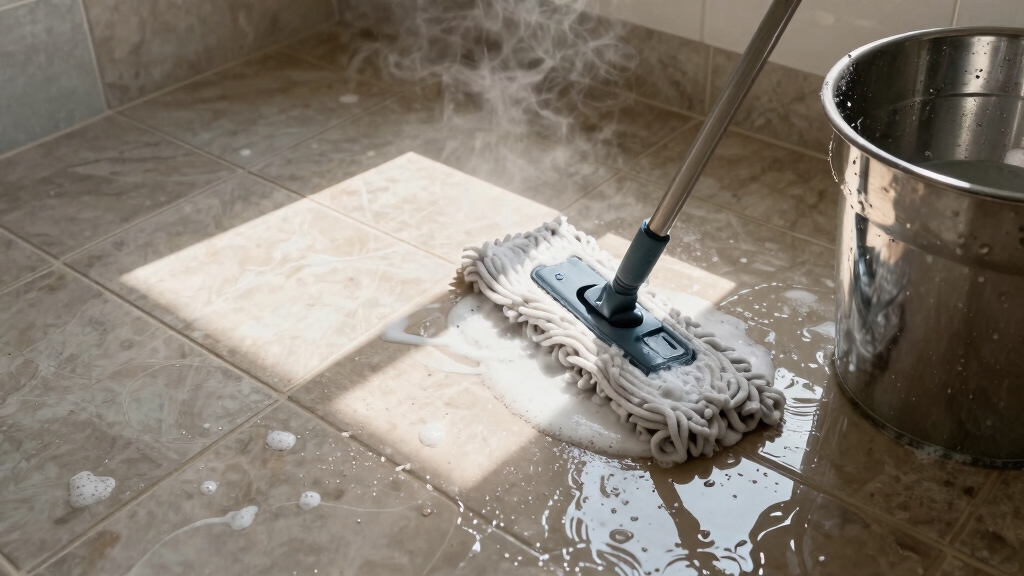
Step-by-Step Mopping Techniques for Bathroom Floors
After treating stubborn stains and mold, you’re ready to mop your bathroom floor efficiently. Start by wetting your microfiber mop with clean water, then wring it out thoroughly to avoid soaking the surface.
Work in small sections, applying your chosen cleaning solution lightly, and mop toward the door to prevent stepping on cleaned areas. Use a second bucket filled with clean water to rinse and wring the mop regularly, maintaining solution effectiveness.
For tiles, a mild tile cleaner works best, while wood demands a damp mop with wood floor cleaner. Never saturate these surfaces. Avoid harsh scrubbing or excessive water, especially on laminate and stone floors.
Finally, mop each section methodically to guarantee even coverage, minimizing streaks and buildup.
How to Rinse and Dry Bathroom Floors for a Spotless Finish?
When your bathroom floor has been thoroughly mopped, rinse it carefully to remove any leftover cleaning solution that can cause streaks or residue.
Use clean water and a fresh mop, wrung out well, to damp-mop the floor in sections, working toward the door.
Change the rinse water frequently to avoid spreading dirt. For glossy or reflective floors, finish with a damp mop of plain water to restore shine.
After rinsing, dry the floor promptly to prevent water spots and slip hazards.
Use a soft microfiber cloth or towel to wipe down the surface, especially on marble or natural stone floors, which require immediate drying to avoid damage.
Buff high-gloss areas gently for a spotless, polished finish.
Maintain Your Bathroom Floor With Weekly Cleaning Habits
Once your bathroom floor is thoroughly rinsed and dried, keeping it clean becomes much easier.
Establishing weekly cleaning habits prevents grime buildup and reduces deep-cleaning frequency.
Stick to these key steps:
- Clear the floor of personal items and debris before starting.
- Use a vacuum or soft broom to remove dust and loose dirt.
- Mop with the appropriate cleaner for your floor type, ensuring you wring out excess liquid.
- Spot-treat stains promptly using mild solutions suited for your flooring material.
Frequently Asked Questions
Can I Use Essential Oils in My Bathroom Floor Cleaning Solution?
Yes, you can add essential oils to your bathroom floor cleaning solution for a fresh scent and mild antibacterial benefits.
Just mix a few drops into your usual cleaner, like dish soap and water or a pH-neutral solution for stone floors.
Avoid using oils that might leave residue or damage sensitive surfaces.
Always test on a small area first to make certain no discoloration or damage occurs before cleaning the entire floor.
How Do I Safely Remove Paint or Adhesive From Bathroom Floors?
You should start by softening the paint or adhesive with warm, soapy water or a mild adhesive remover safe for your floor type.
Gently scrape with a plastic scraper or putty knife to avoid damage.
For stubborn spots, apply a baking soda paste or rubbing alcohol carefully, testing a small area first.
Always rinse thoroughly and dry the area promptly to prevent residue or surface harm.
Repeat as needed for complete removal.
What Is the Best Way to Prevent Slippery Bathroom Floors After Cleaning?
Imagine your bathroom floor as an icy pond. Without care, it can catch you off guard.
To prevent slips, rinse thoroughly after cleaning to remove soapy residue. Then dry the floor completely with a soft cloth.
Use a non-slip mat or apply anti-slip treatments designed for bathroom surfaces.
Regularly check for and treat any buildup that might cause slickness. This ensures your floor stays safe and steady underfoot every time.
Are Steam Cleaners Safe for All Bathroom Floor Types?
Steam cleaners aren’t safe for all bathroom floor types. You should avoid using steam on natural stone floors like marble, granite, slate, or travertine because it can cause damage or etching.
For tile, vinyl, laminate, and wood, steam cleaners can be effective but use caution to prevent excess moisture. This is especially important on wood and laminate to avoid warping. Always check your floor’s manufacturer guidelines before using steam cleaning.
How Can I Quickly Dry Bathroom Floors During Humid Weather?
Like chasing away a morning fog, you can quickly dry your bathroom floors during humid weather by wiping them down immediately with a dry microfiber cloth or towel.
Use fans or a dehumidifier to speed evaporation. Open windows if possible to improve airflow.
Avoid walking on the floor until it’s completely dry to prevent streaks and slips.
These steps will help you keep your floor spotless and safe in sticky conditions.
Conclusion
Now that you know the best way to clean your bathroom floor, remember consistency is key. While some believe harsh chemicals clean better, gentle, appropriate cleaners often protect your floor’s finish longer.
Regular dusting, targeted stain removal, and proper mopping prevent buildup and damage.
By following these precise steps, you’ll maintain a spotless, hygienic bathroom floor without risking wear or discoloration. Stick to weekly habits, and your floor will stay fresh and durable.